
In the previous blog posts, we described how to deploy vRealize Automation 8. In order to get it fully working, we have to configure Identity & Access Management accordingly. Adding a directory can be done from the Lifeycycle Manager console as well as from the Identity Manager. The GUI is more or less the same, so we will focus on the latter one. Also note, most of the stuff when adding a directory is really similar to vRealize Automation 7, so when you want to have a look on the details, please read my old book chapter 5 here on cloudadvisors.
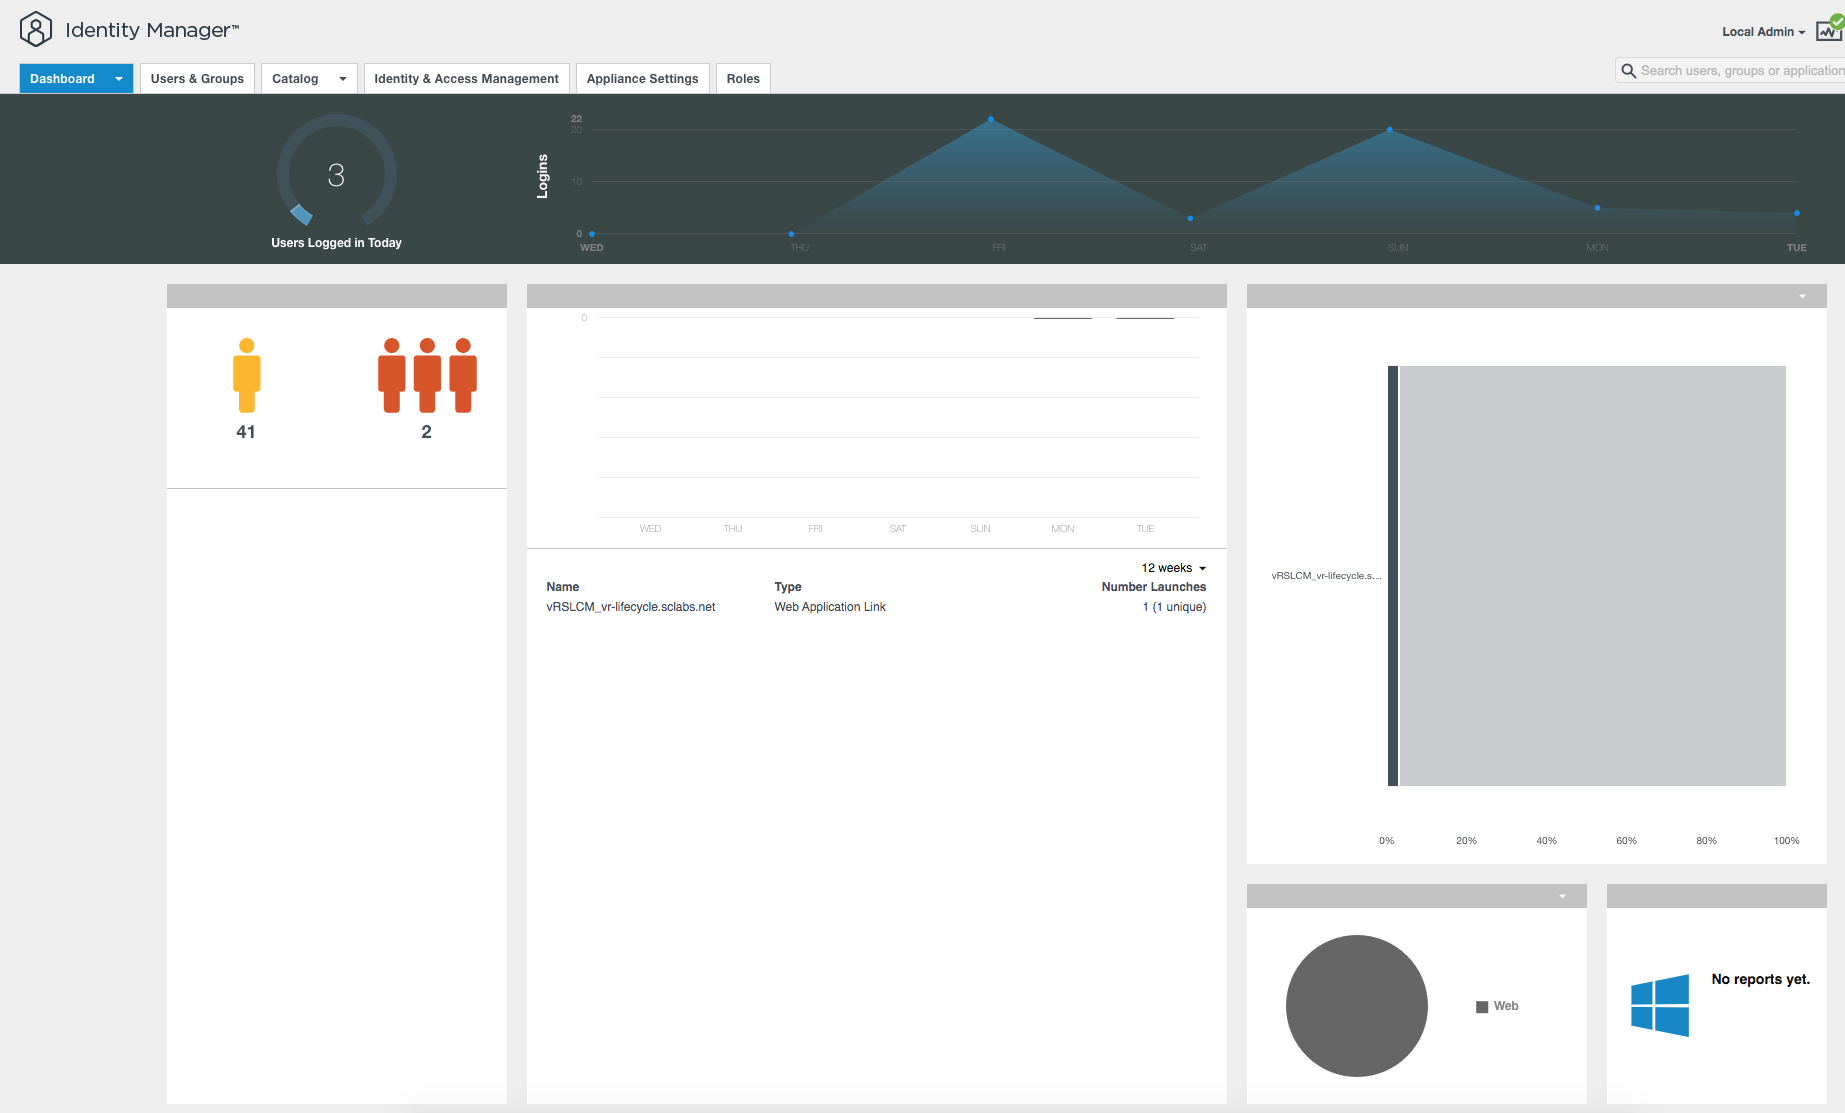
First, log on to the Identity Manager and change to the Identity & Access Management. Click on Add Directory.
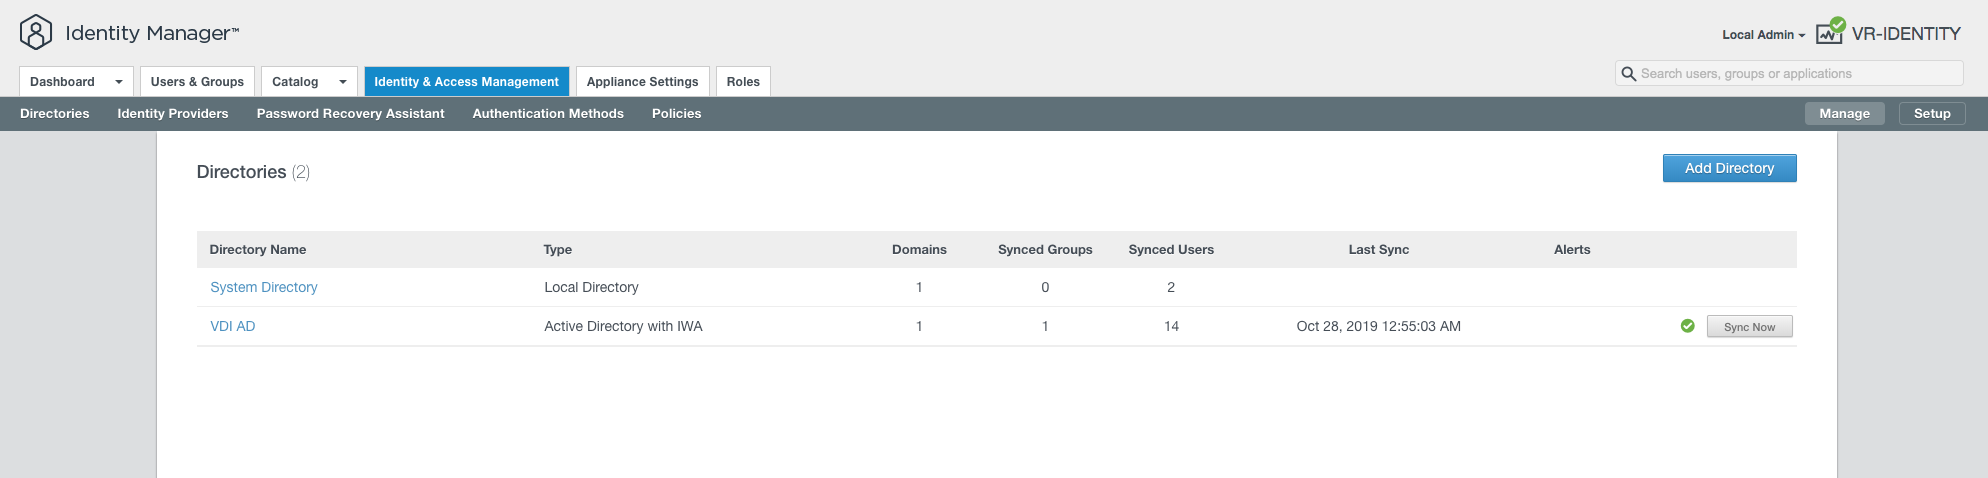
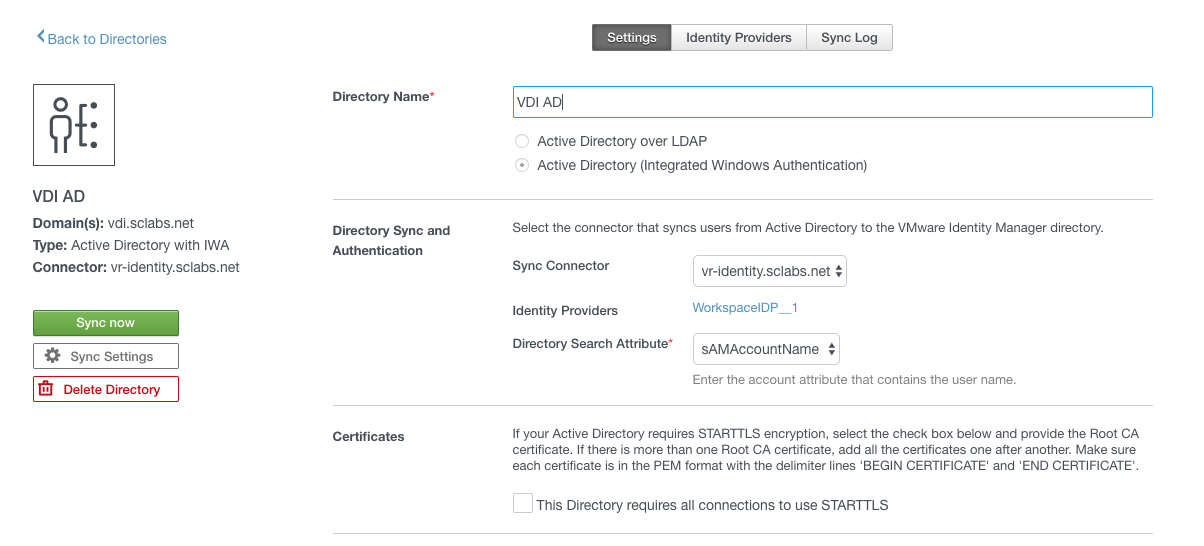
In my case, I chose Add Active Directory over LDAP/IWA (Integrated Windows Authentication).
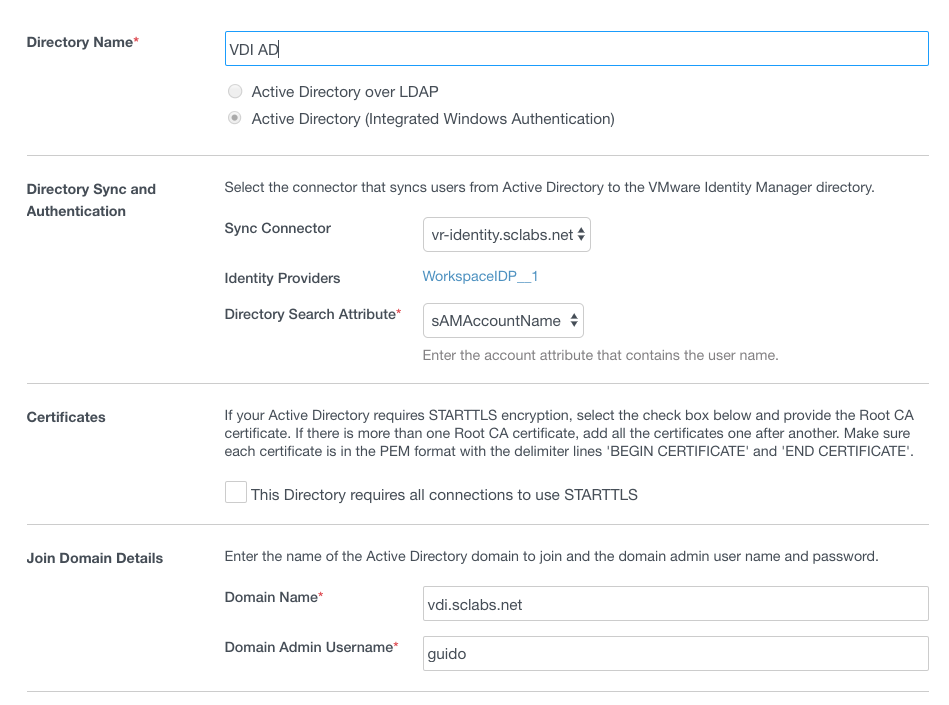
On the first page, provide the following information:
- Directory name
- Active Directory over LDAP or Active Directory (Integrated Windows Authentication)
- Keep the default Sync Connector
- Do you want this Connector to also perform authentication? => Yes
- Directory Search Attribute: sAMAccountName or UserPrinciple Name
- For TLS, click on „This Directory requires all connections to use STARTTLS“ and provide a SSL Certificate
- Domain Name
- Domain Admin Username
- Domain Password
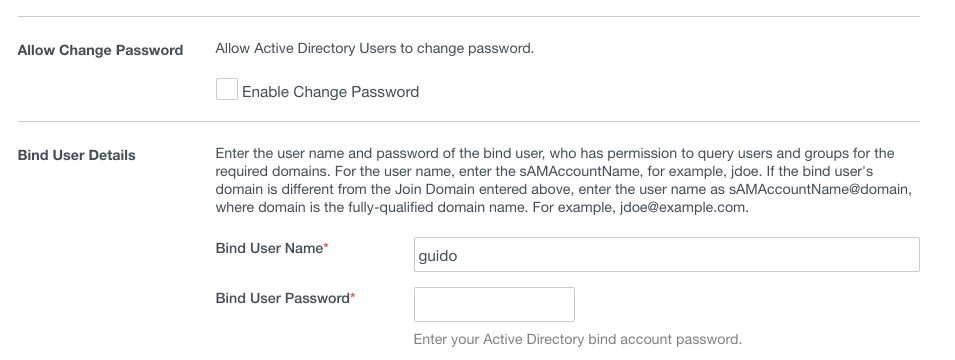
- Bind User Name
On the next page, choose the appropriate domain.
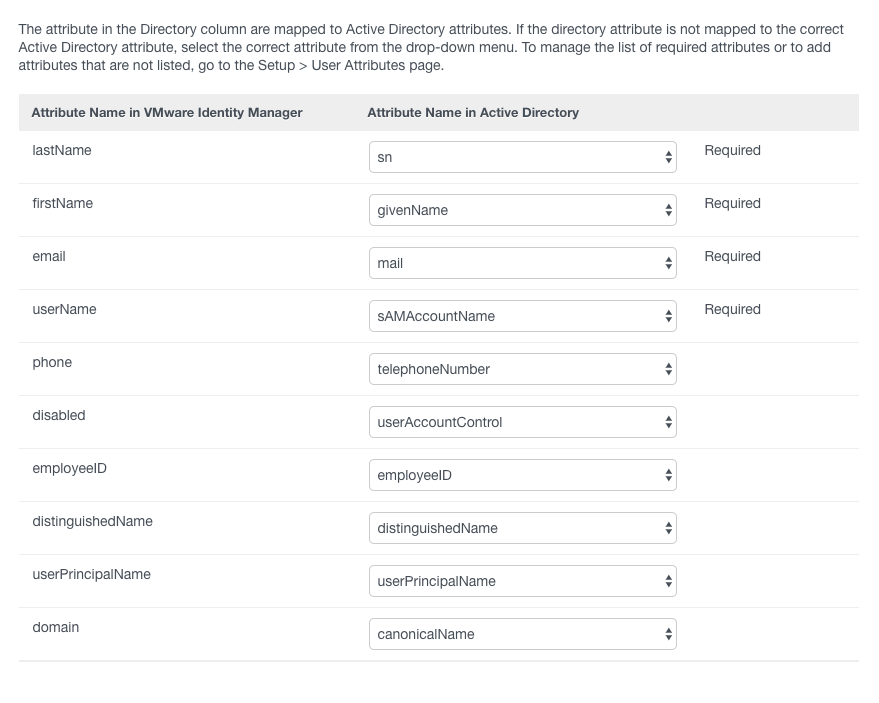
On the Mapped Attribute page, check the settings.
In the next screen, select the groups (users) you want to sync. Specify the group DNs, for example:
CN=vraUsers,OU=VRA, DC=VDI, DC=SCLABS,DC=NET
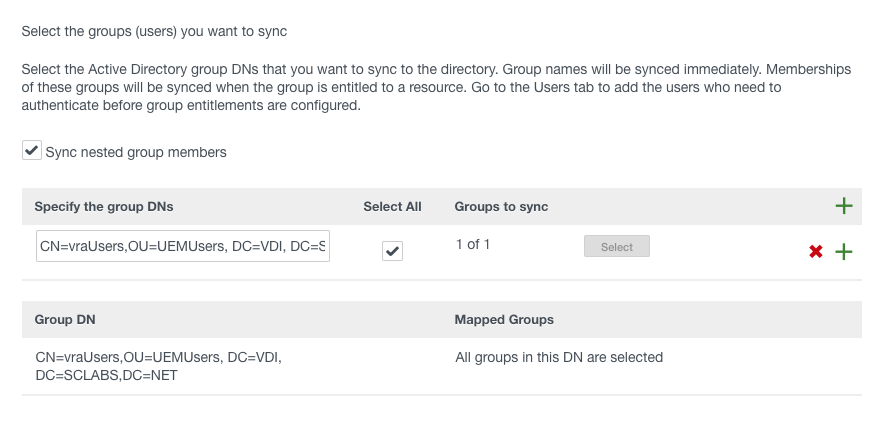
Next, choose the Users to be added.
Finally, review your settings and finish the assistant.
Once the wizard is completed, you will be directed to a summary page, where you see your configuration, the status and are able to trigger a new Sync.
Recent Comments