
In the course of a customer project, I was able to gain experience in the migration from vRealize Automation 7 (vRA7) to vRealize Automation 8 (vRA8), now renamed VMware Aria Automation. Part of the migration involved transferring Blueprints from vRA7 to Cloud Templates in vRA8. Since this is a very time-consuming and monotonous task to transfer data from one graphical user interface to another graphical user interface, I decided to take a closer look at the REST API of both. The goal was to automate parts or the whole process.
vRA7
For calling the REST API I used Python, because there are some good libraries available, like Jupyter Notebooks. These notebooks allow you to work with code very easily, since all created variables are placed in memory. In addition, you can also execute only small lines of code using cells. In order to execute these API queries it was first necessary to authenticate to the vRA7 server.
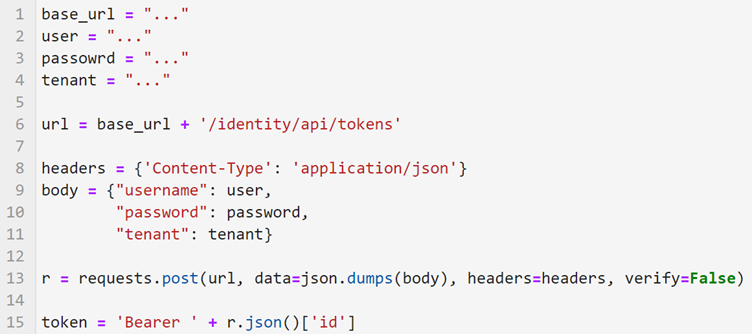
In the upper picture a simple code is shown how to get the token which is used for all following calls. Only the first four variables have to be filled. So you need the URL to the vRA7 server, a user and his password and last the tenant you want to connect to. Then in line 13 a POST request is made to the server using the requests library of Python and stored in the variable ‚r‘. To get a valid token the string ‚ Bearer ‚ is put in front of the token from the request in line 15. So the variable ‚token‘ can be used in later requests for authentication.
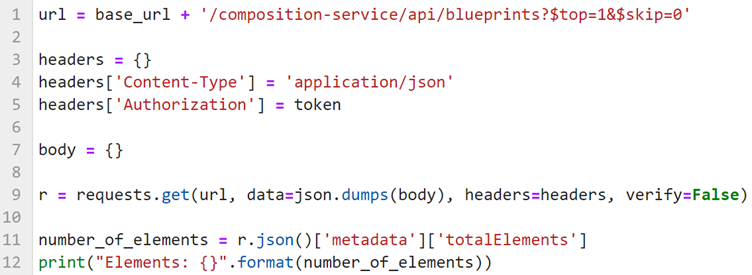
The image above shows how to access the Blueprints in vRA7 using the API. Here, the requests return a JSON object that contains rough information about the Blueprints. We only access the metadata here in the example to see how many Blueprints there are in total. In the content part (r.json()[‚content‘]) we could see a short description about the blueprints. To see the exact structure of a blueprint we would need to use the URL ‚/composition-service/api/blueprints/<blueprint_id>‘ where we need to replace <blueprint_id> with the id of the blueprint.
vRA8
Now that we’ve looked at the basics of using vRA7’s REST API, let’s take a closer look at how it works in vRA8. There are some changes here regarding authentication and the general structure of the API. In vRA8, you first have to request a refresh token, which in the next step will give you an access token that can be used for authentication.
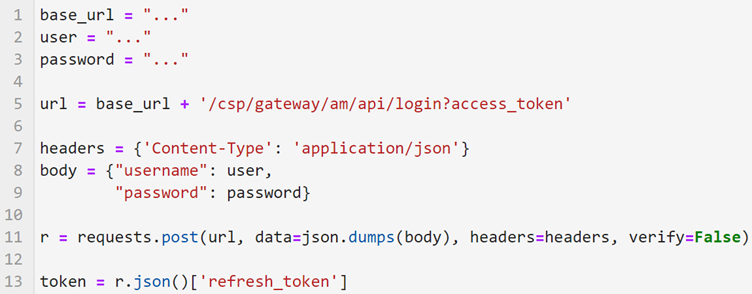
The picture above shows how the call looks like to get such a refresh token. We store it here in the variable ‚token‘ to get an access token in the next call.

Now only ‚Bearer‘ is written in front of the received token. Now we are ready to make real starts on the server.
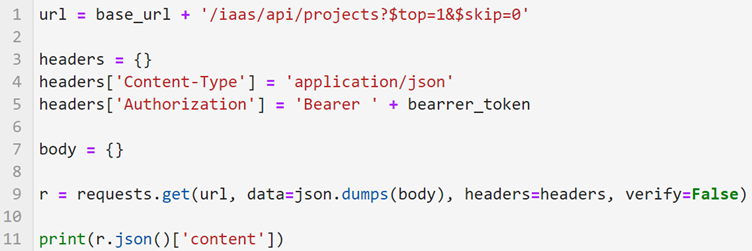
As in vRA7, we can also display blueprints in vRA8. The functionality is the same, only the URL to the resource has changed.
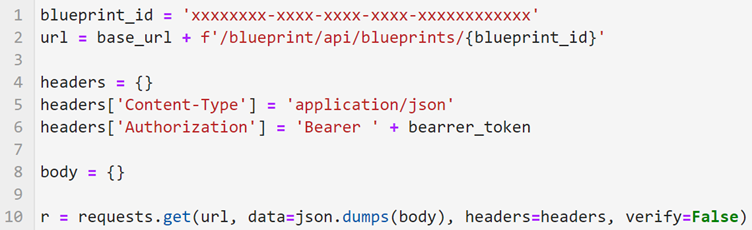
To take a closer look at a single blueprint, an example is shown in the image above. For this, as under vRA7, the Id of the Blueprint is also required.
Recent Comments