
As discussed in the last blog post, vRealize Automation allows to manage networks and their configuration settings in an intuitive and comfortable manner. Administrators have an overview over all networks imported from the underlying Cloud Accounts and are able to centrally manage stuff like CIDR Ranges, DNS settings, Gateways and so on.
Besides, administrators can use the IPAM built-in functions of vRA if they don’t have a dedicated IPAM solution like Infoblox.
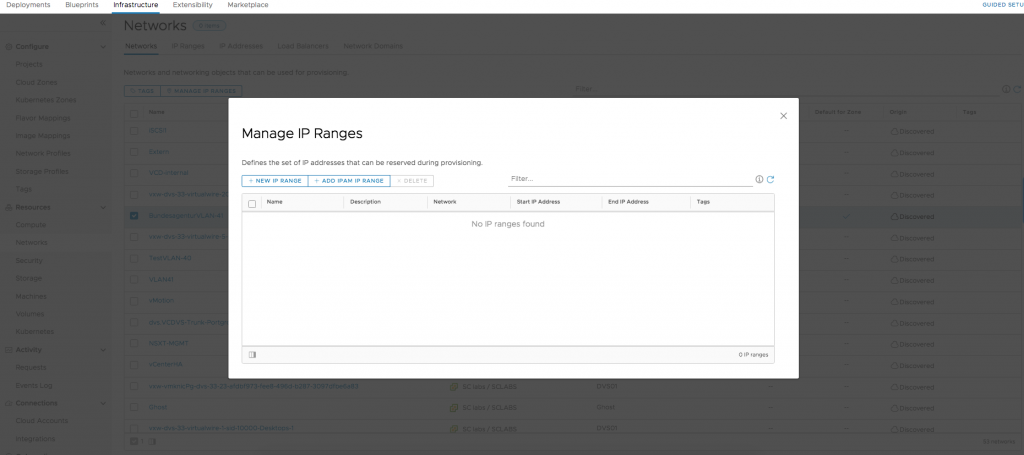
Perform the following steps to manage IP ranges:
- Within the Networks page, select the network for which you want the IP ranges to be configured and click on „MANAGE IP RANGES“
- Click on [+ NEW IP RANGE]
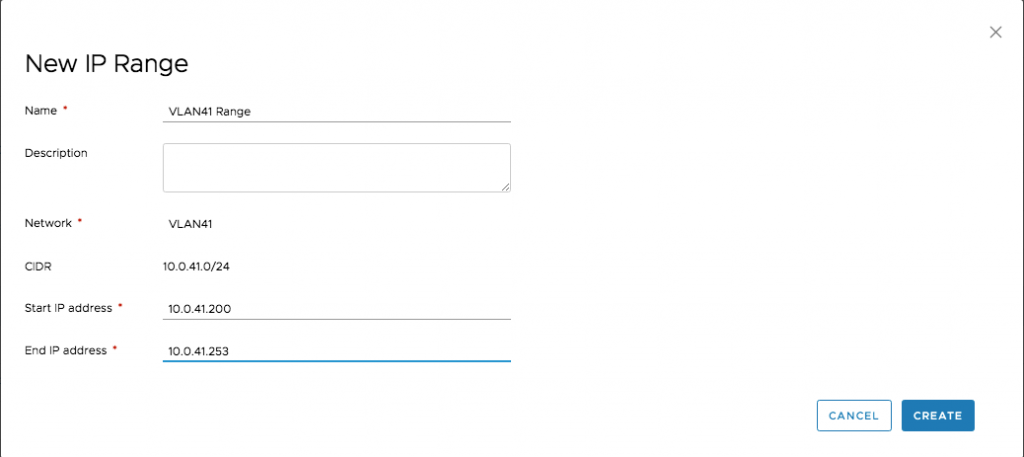
- Provide a Name for the IP Range
- Optionally, provide a description
- Enter the Start IP address
- Provide the End IP address
Click on Create
IPAM Considerations
Once you have saved your new IP range, you can change to the IP Ranges tab and have an overview about all your configured IP Ranges.
However, there are some caveats in order to use the internal IP Ranges and hence you have to make sure that the following requirements are fulfilled:
- First, you need the VMware Tools installed on the Linux machine
- You need to setup a Guest specification in vSphere
- You have to configure the blueprint to use the guest specification
- You have to change the Network Assignment to Static on the blueprint
The first two items should be easy to be configured or are most likely already set up properly. The following code shows the necessary configuration on the blueprint.
formatVersion: 1
inputs: {}
resources:
  Cloud_vSphere_Machine_1:
    type: Cloud.vSphere.Machine
    properties:
      image: Ubuntu
      cpuCount: 1
      totalMemoryMB: 1024
      networks:
        - tags: []
          network: '${resource.Cloud_vSphere_Network_1.id}'
          assignment: static
          assignIPv6Address: false
          assignPublicIpAddress: false
      customizationSpec: Linux
  Cloud_vSphere_Network_1:
    type: Cloud.vSphere.Network
    properties:
      networkType: existing
      name: VLAN-41
Once you have accomplished these configuration settings, you can monitor the assigned IP addresses:

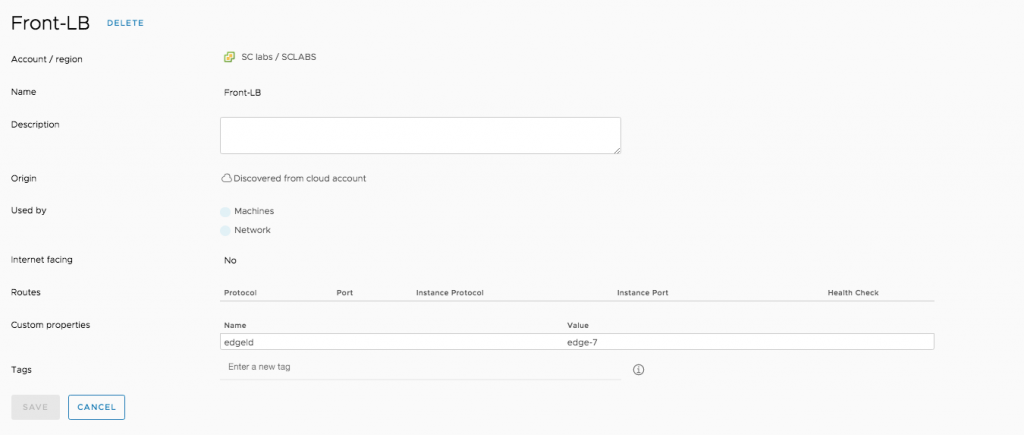
Network Load Balancers
When you have NSX integrated, the Network section will also display the load balancers that can be used for provisioned resources.
However, except than setting tags (which is optional), no configuration has to be done here.

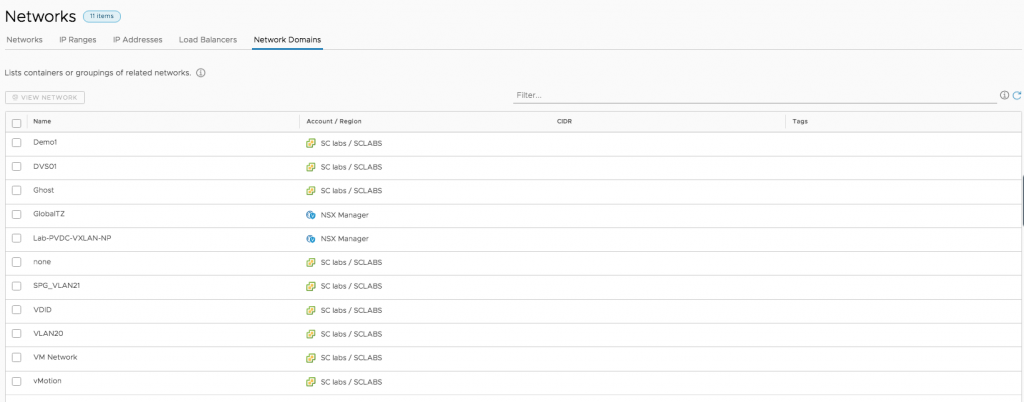
Last but not least, the Network Domain section will give you an overview over containers or groupings of related networks. Networks in the network domain are related and non-overlapping. Term equivalents:
- AWS = VPC (virtual private cloud)
- Microsoft Azure = Virtual network
- vSphere = Network
Recent Comments