
After having discussed the basic principles behind Projects, we will continue with showing how to set up and configure Projects.
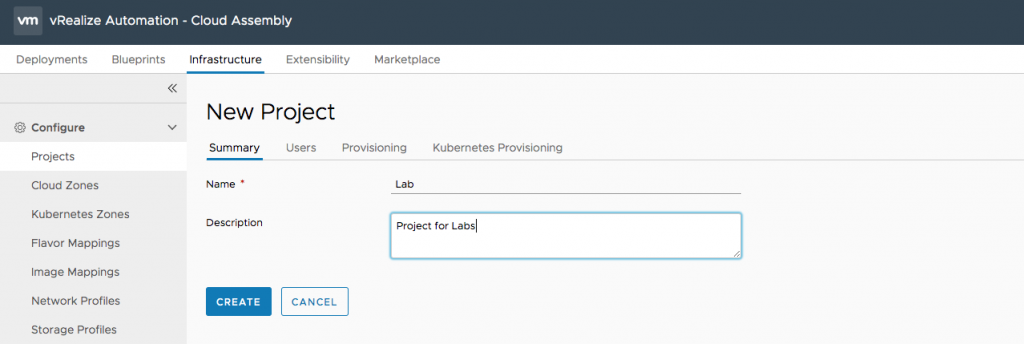
Projects can be created from within the Infrastructure > Projects page by clicking [+ New Project].
In order to create a Project, we have to provide a Name and optionally a Description
Next, click on the Users tab. Generally spoken, you should prefer assigning groups than individual users.
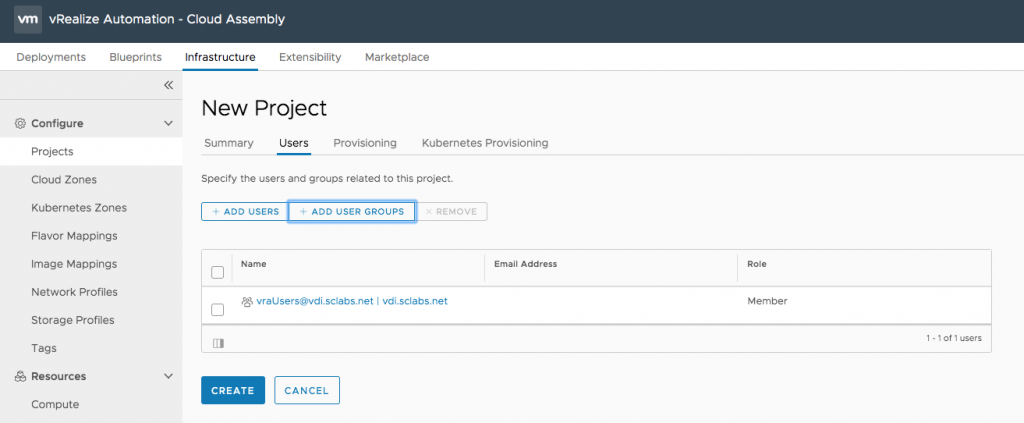
Users and Groups that you are adding can be either Members or Administrator in a Project. We have already discussed the permissions of those roles in a former post, so we will not repeat it here once again.
The Provisioning tab is the one where most of the configuration work can be done:
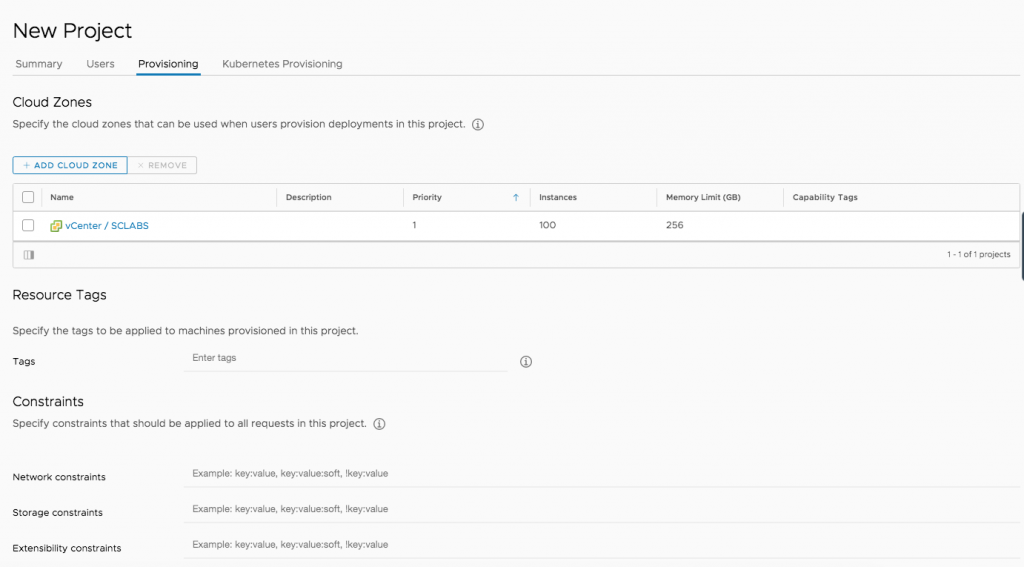
- First of all, we have specify which Cloud Zones can be used by a Project.
- Secondly, there are Resource Tags to be defined.
- We can specify Constraints (Network constraints, storage constraints, Extensibility constraints). Remember that constraints have to match with capabilities (on network profiles and subnets, storage profiles or Orchestrator Integrations)
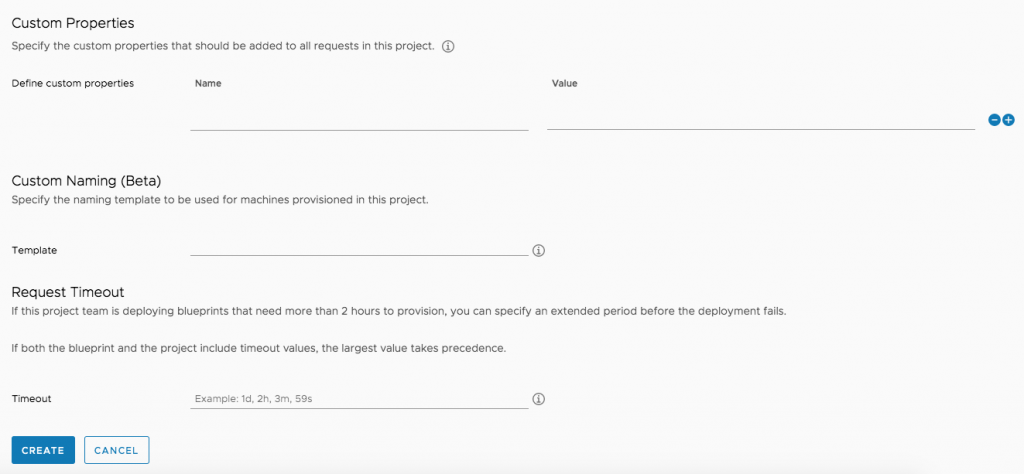
- We can also add Custom Properties, which will be applied on every blueprints which provisioned by that Project.
- Custom naming can also be applied. Compared to the Machine Prefixes in vRA 7, Custom naming is much more powerful. Custom naming come with some kind of a basic expression language and gives access to names of other resources (e.g. Resource properties: ${resource.name}, Endpoint properties: ${endpoint.endpointType}, Project Properties: ${project.name}, User Properties: ${userName}, ${user}, Numbers: ${######}. Expressions can also be combined, for example if the Project name is euc-1a, we could could a create a name like this: ${project.name}-${######} => euc-1a-000001. However, at the time of this writing, Custom naming is still in beta.
- Request Timeout: Only needed for deployments that need more than 2 hours for provisioning.
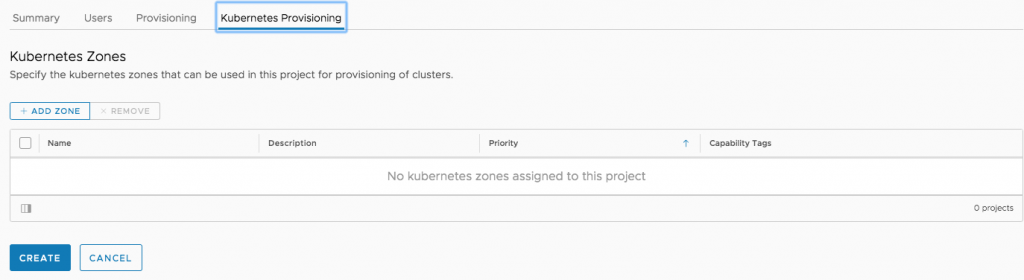
The last screen is about adding a Kubernetes Zone to a Project.
Once finished, click Create.
Recent Comments