
With the advent of vRealize Automation 8, VMware moved away from the Windows IaaS server and migrated all this stuff onto a Kubernetes appliance running on Linux. As a consequence, lots of building blocks have been revised. When setting up vRealize Automation 7, all began with setting up something like Fabrics, Fabric Groups, Business Groups, Reservations and so on. With vRealize Automation, things have changed. Now we are talking about the following building blocks:
- Cloud Accounts
- Projects
- Zones, for example Cloud Zones, Kubernetes Zones
- Mapping, e.g. Image Mappings, Flavor Mappings
- Profiles: Network Profiles, Storage Profiles
- Tags
In this post, we will begin with Cloud Accounts and Zones:
Broadly spoken a Zone is the equivalent of the former Fabric Group. That means, we have to begin with setting up Zones in order to import the underlying resources of vCenters and so on. However, before being able to import the underlying resources, there is need to set up an Cloud Account first:
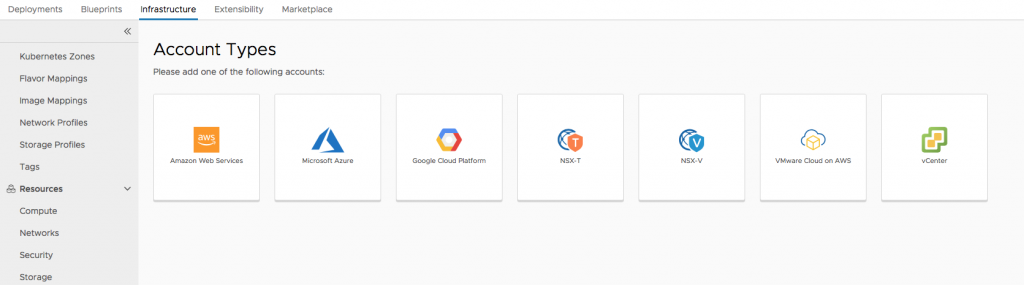
Click on Infrastructure > Cloud Accounts and select vCenter.
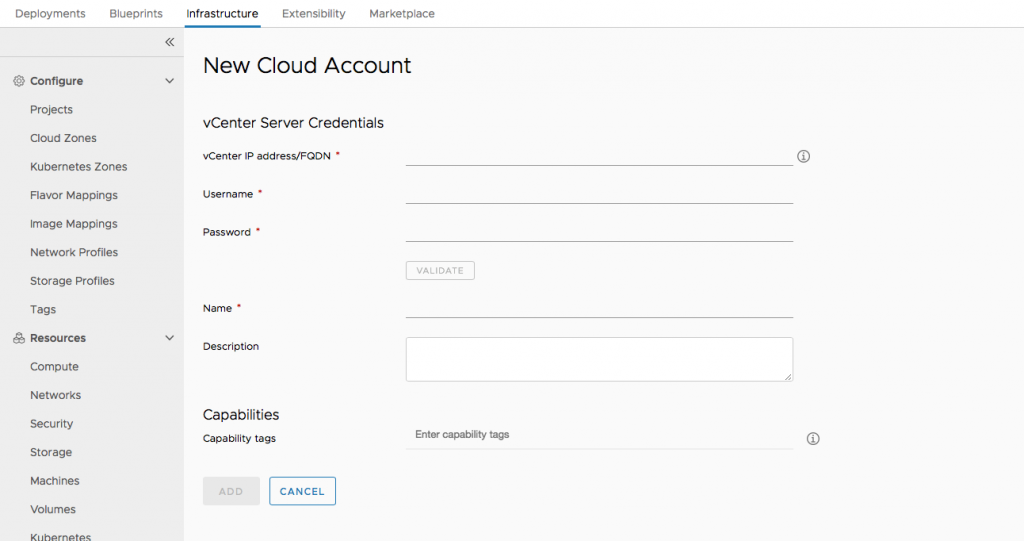
Provide the following information:
- vCenter IP address/FQDN
- Username, for example administrator@vsphere.local
- Password
- Name
- Description (optional)
- Capability tags will be discussed in a later blog post (optional)
In oder to create a Cloud Zone, go to Infrastructure > Cloud Zones.
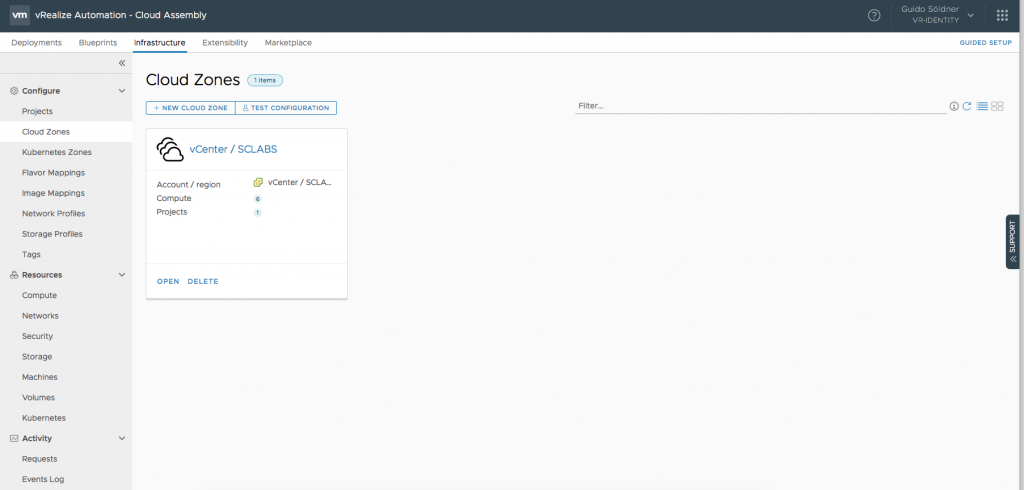
Next, click on + New Cloud Zone to create a new Cloud Zone and provide the following information on the first Summary page:
- Account / region: Use the previously configured vCenter Cloud Account
- Name
- Description
- Placement policy: You have the choice between DEFAULT (Random), BINPACK – Will place computes on the most loaded host that still has enough resources to run the given compute and SPREAD – Will attempt to spread computes evenly across hosts.
- Folder (in vCenter)
- Capability tags

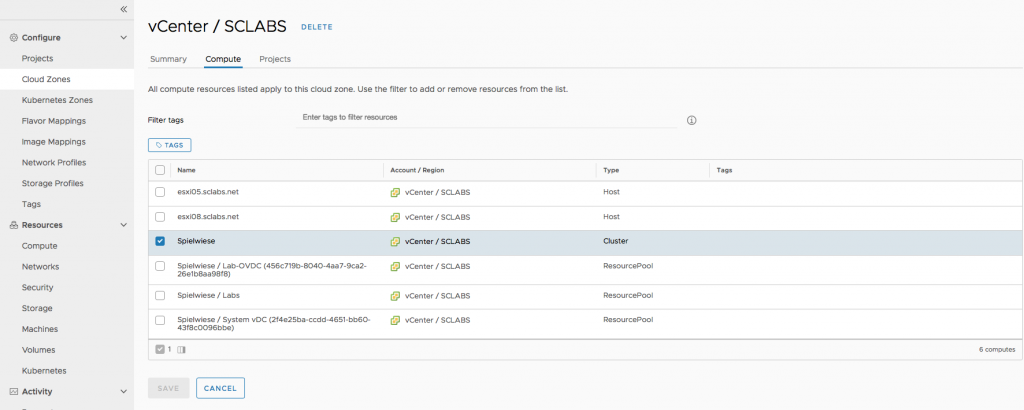
On the Compute Page, choose the resource to be added to the Cloud Zone:
On the last screen, you can add any Project that is allowed to provision into the Cloud Zone. For now, keep that empty.

Recent Comments