
In the first part of the tutorial, we used the Easy Installer to perform a complete installation of the vRealize Automation. However, there are use cases, where this might not be appropriate:
- You already have an Identity Manager deployed
- You don’t want to install all components in one environment and keep vRealize Automation separate from other components.
We will show how the installation can be customized using the vRealize Lifecycle Manager. Remember, the only thing that changes in the Easy Installer wizard is not to deploy vRealize Automation as part of the installation.
Once the Easy Installer wizard finishes, open the vRealize Lifecycle Manager webpage:
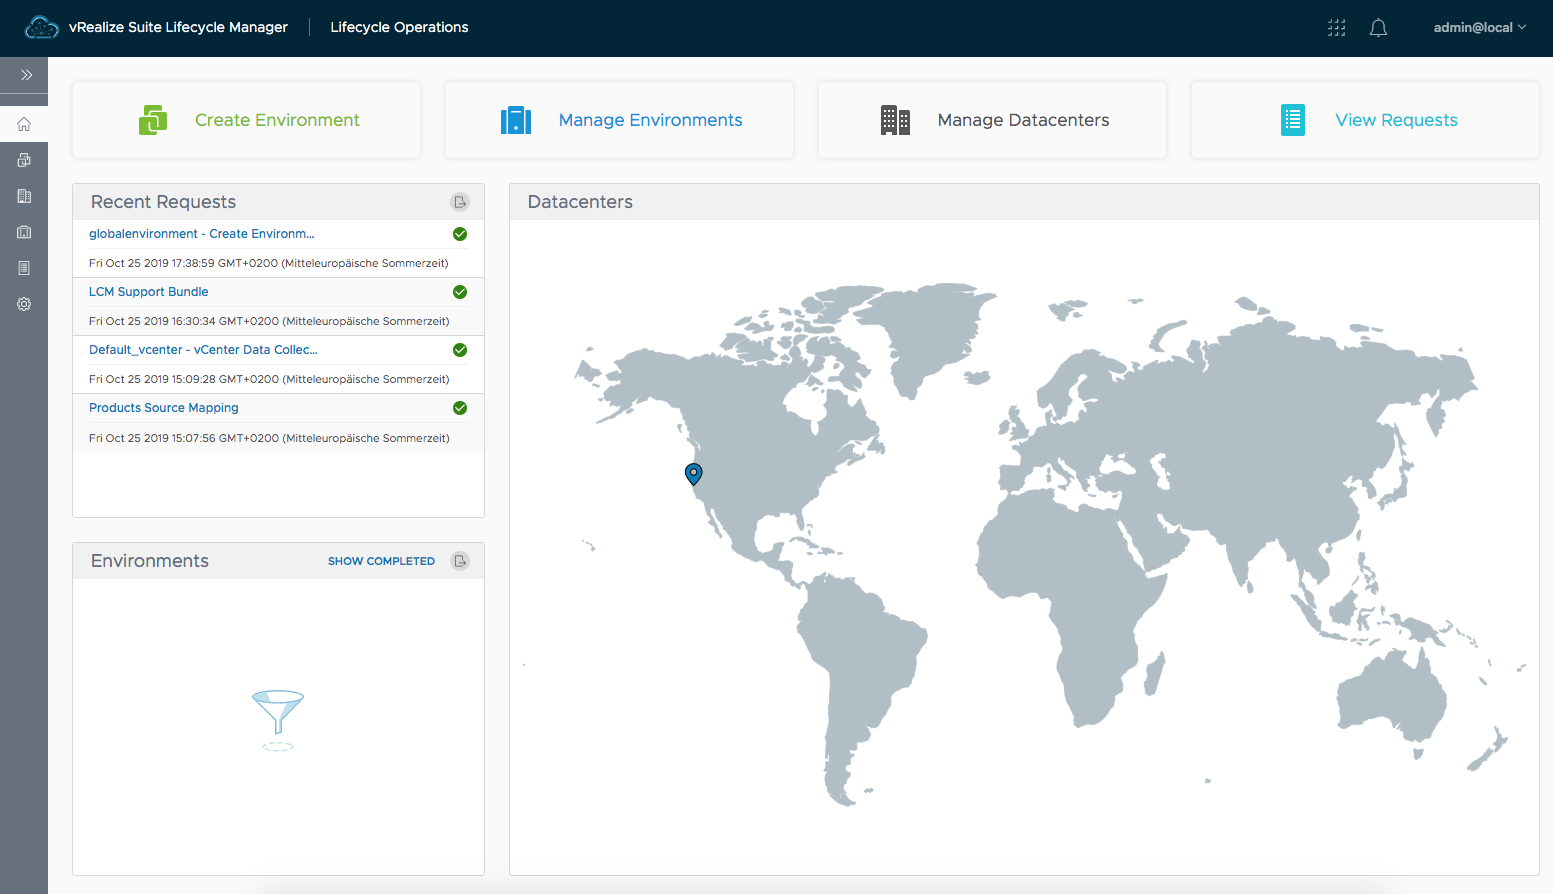
From there Click on the Create Environment button.
Specify the following information on the first page of the wizard:
- Environment Name
- Administrator Email
- Administrator Password
- Datacenter
Optionally, join the VMware Customer Experience Improvement Program.
If you already a configuration file, you can enable the JSON Configuration button and upload it.
Click Next.

On the next page, we will choose vRealize Automation to be installed. Click on Next.

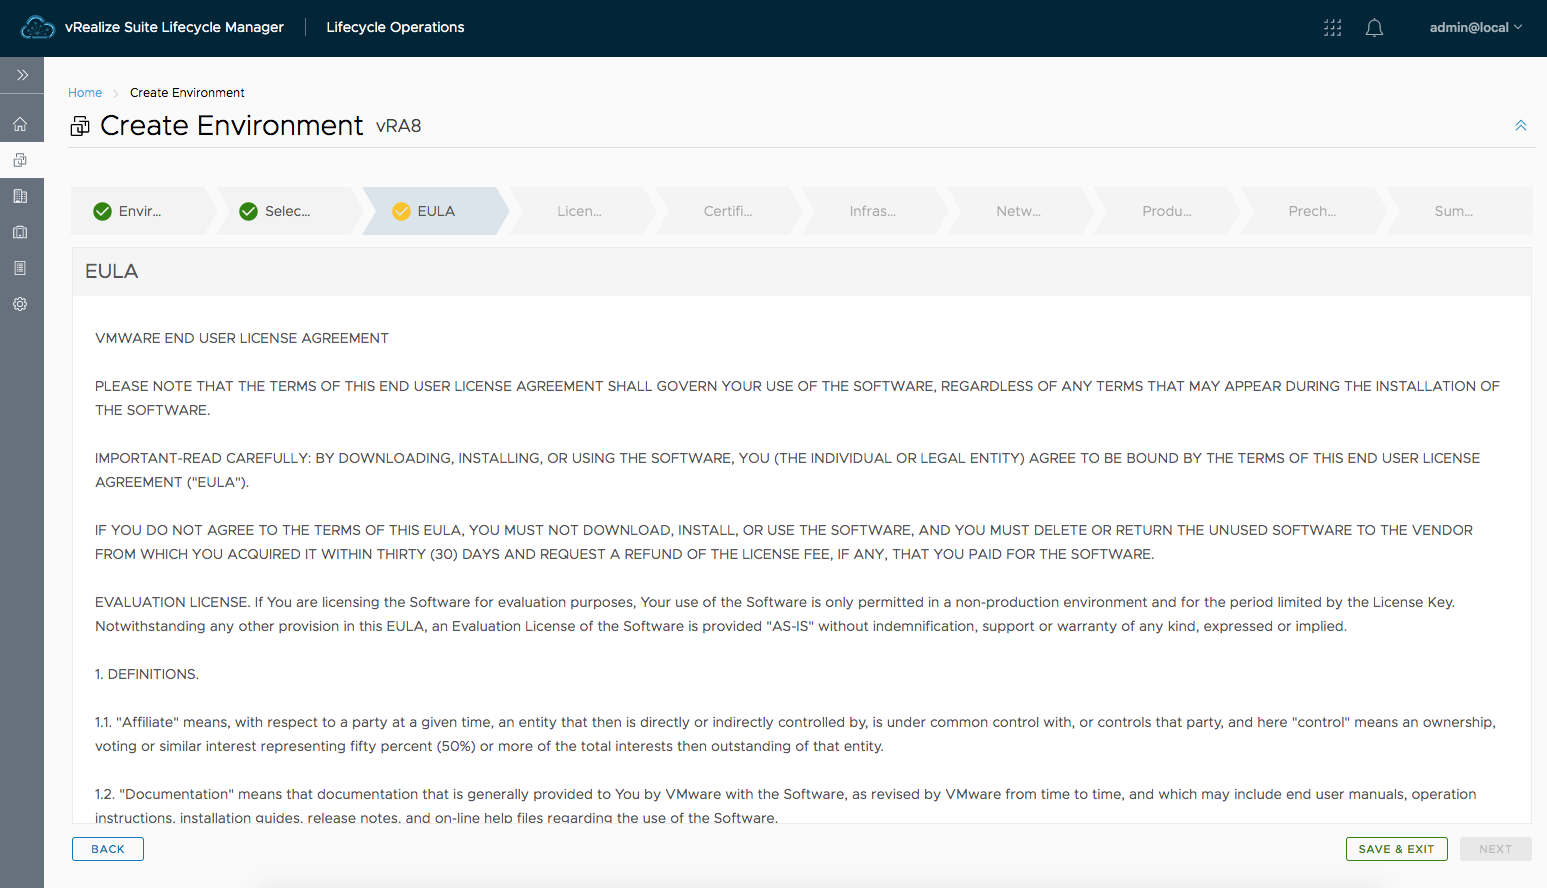
Next accept the EULA.
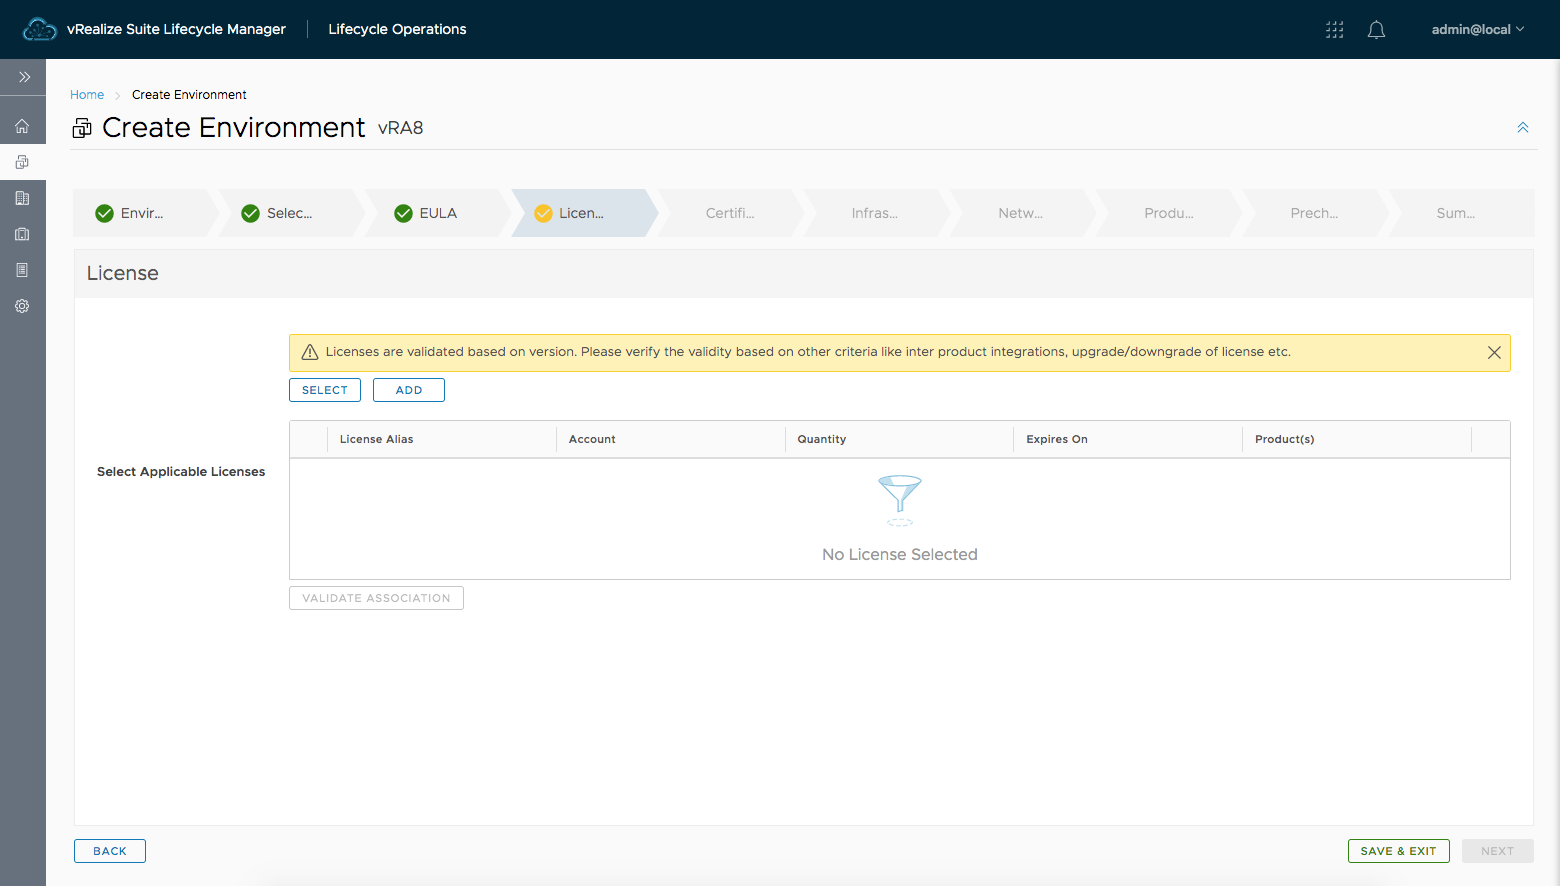
Next, we have to apply an applicable license key.
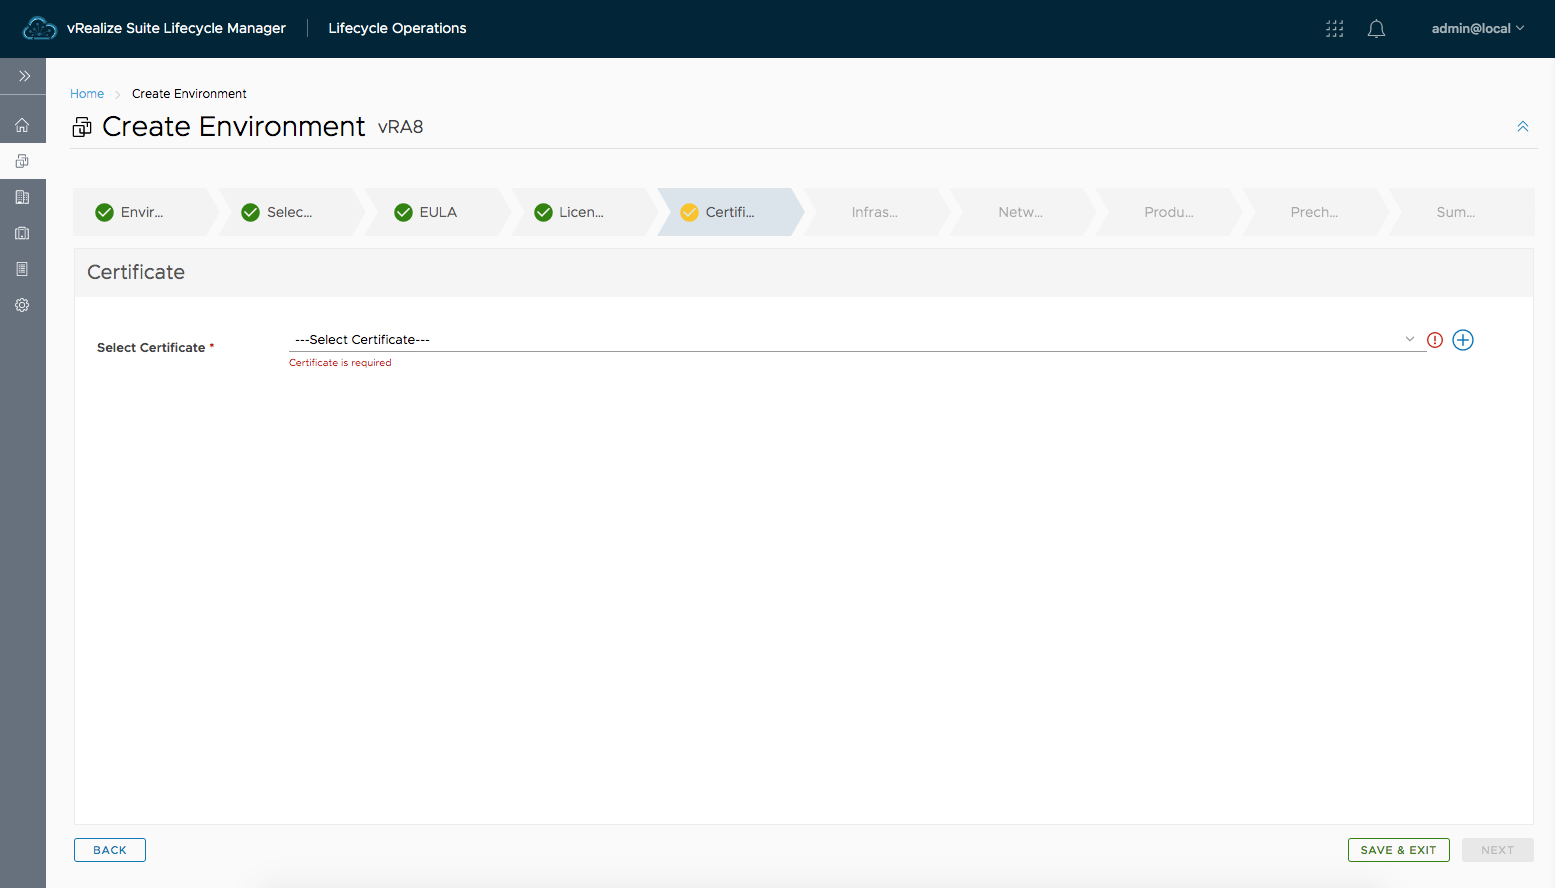
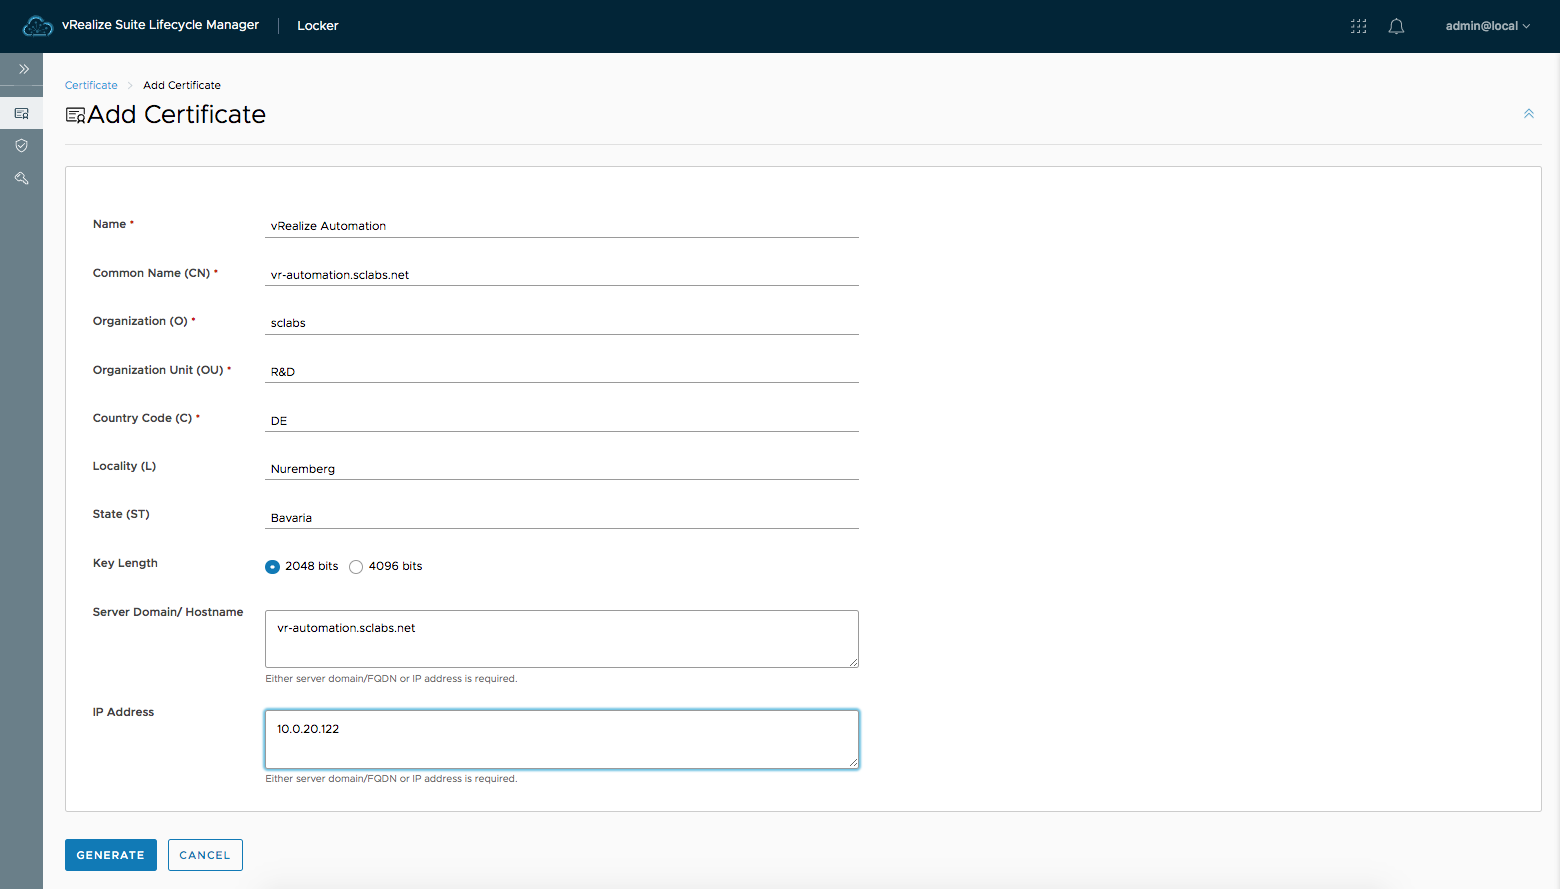
Now, it is time create a certificate. For a testing environment, a self-signed certificate is ok. If that is not suitable, vRealize Lifecycle Manager can also be integrated in your Enterprise CA to create valid certificates.

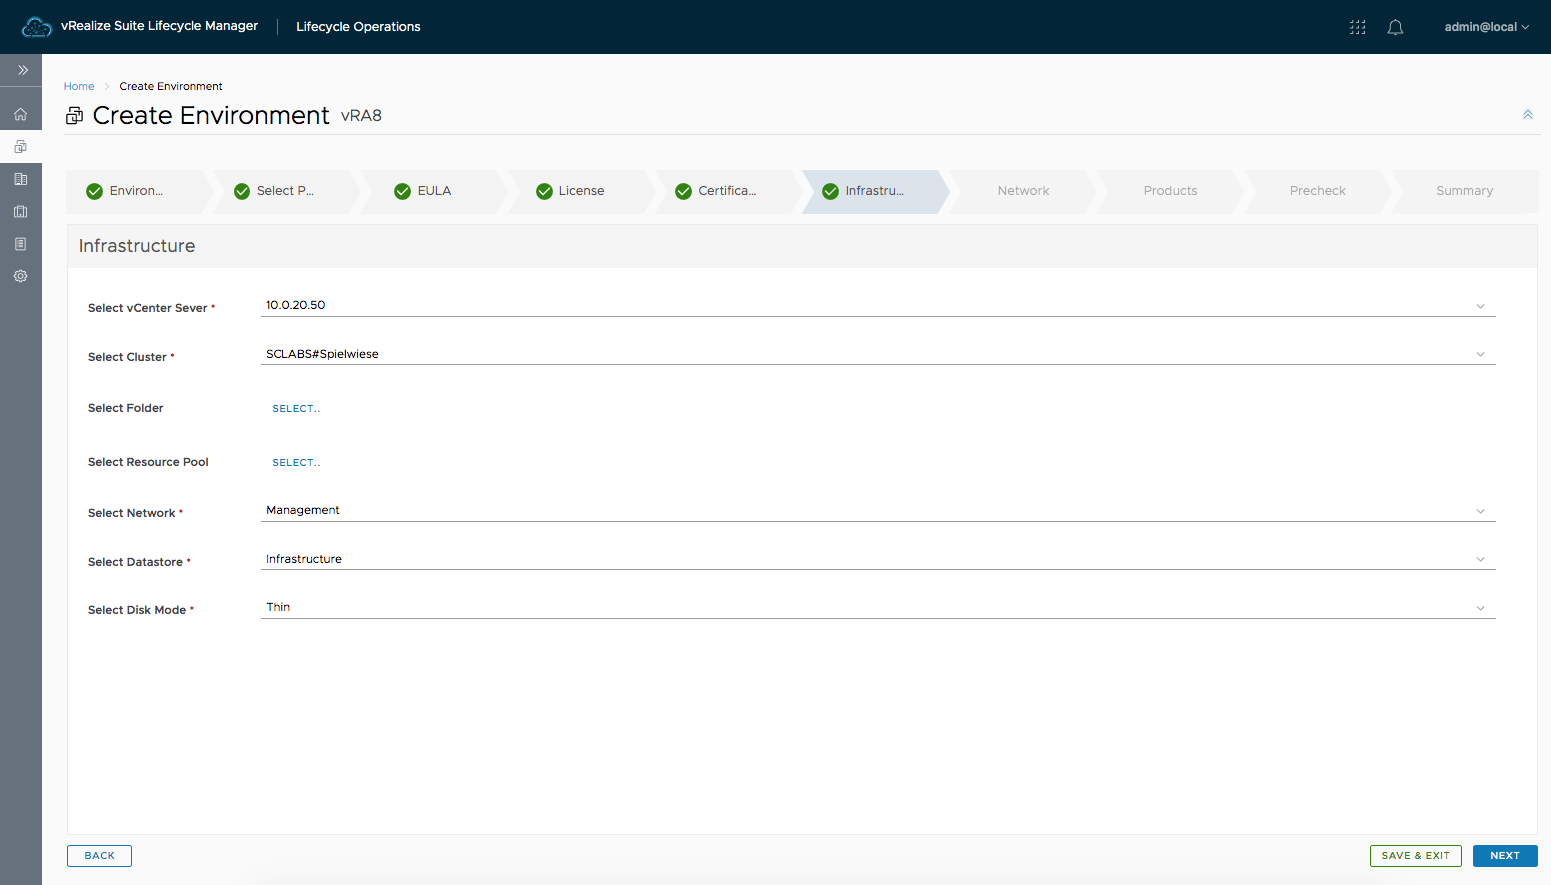
Next, we have to provide some vSphere infrastructure settings:
- vCenter Server
- Cluster
- Folder
- Resource Pool
- Network
- Datastore
- Disk Mode
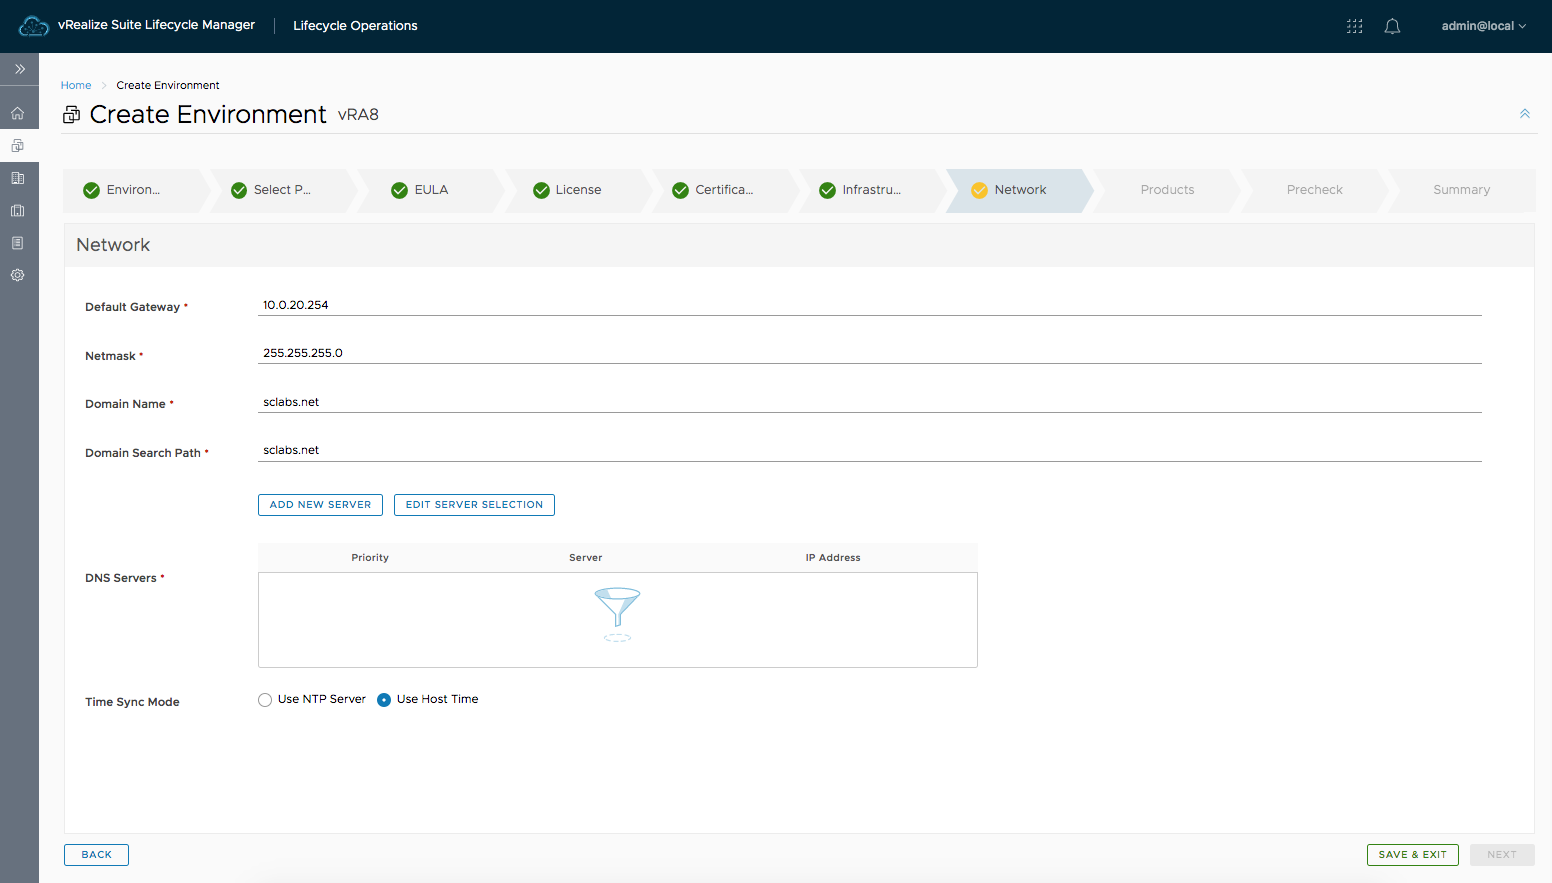
We also have to provide network settings accordingly:
- Default Gateway
- Netmask
- Domain Name
- Domain Search Path
- DNS Servers
Next, we configure the vRealize Automation Product Properties:
- We reference our certificate
- We provide a Product Password
- VM name
- Hostname
- IP Address

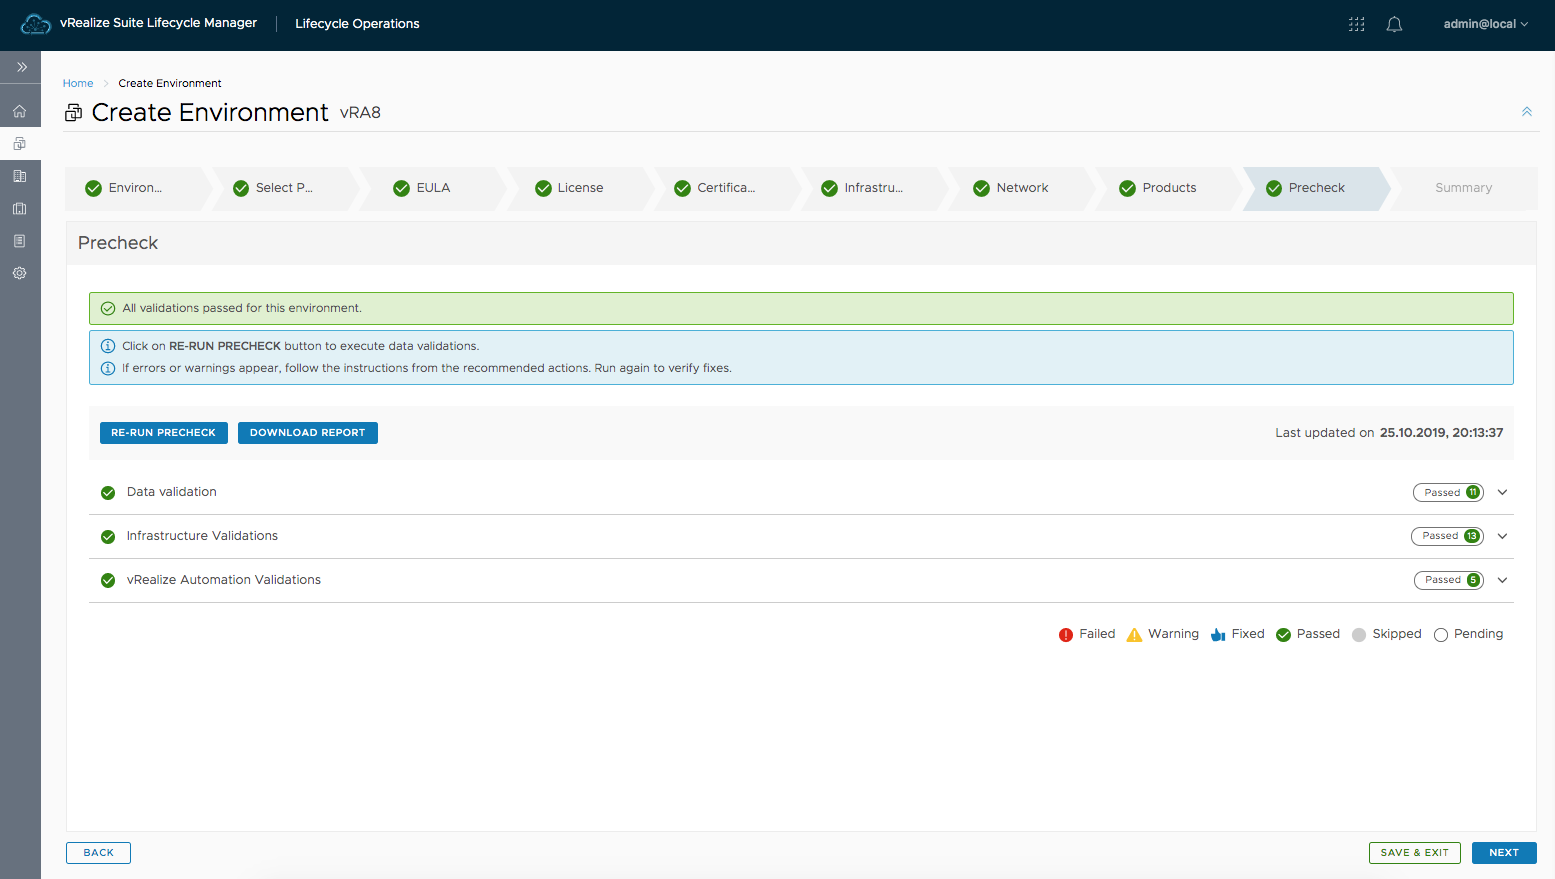
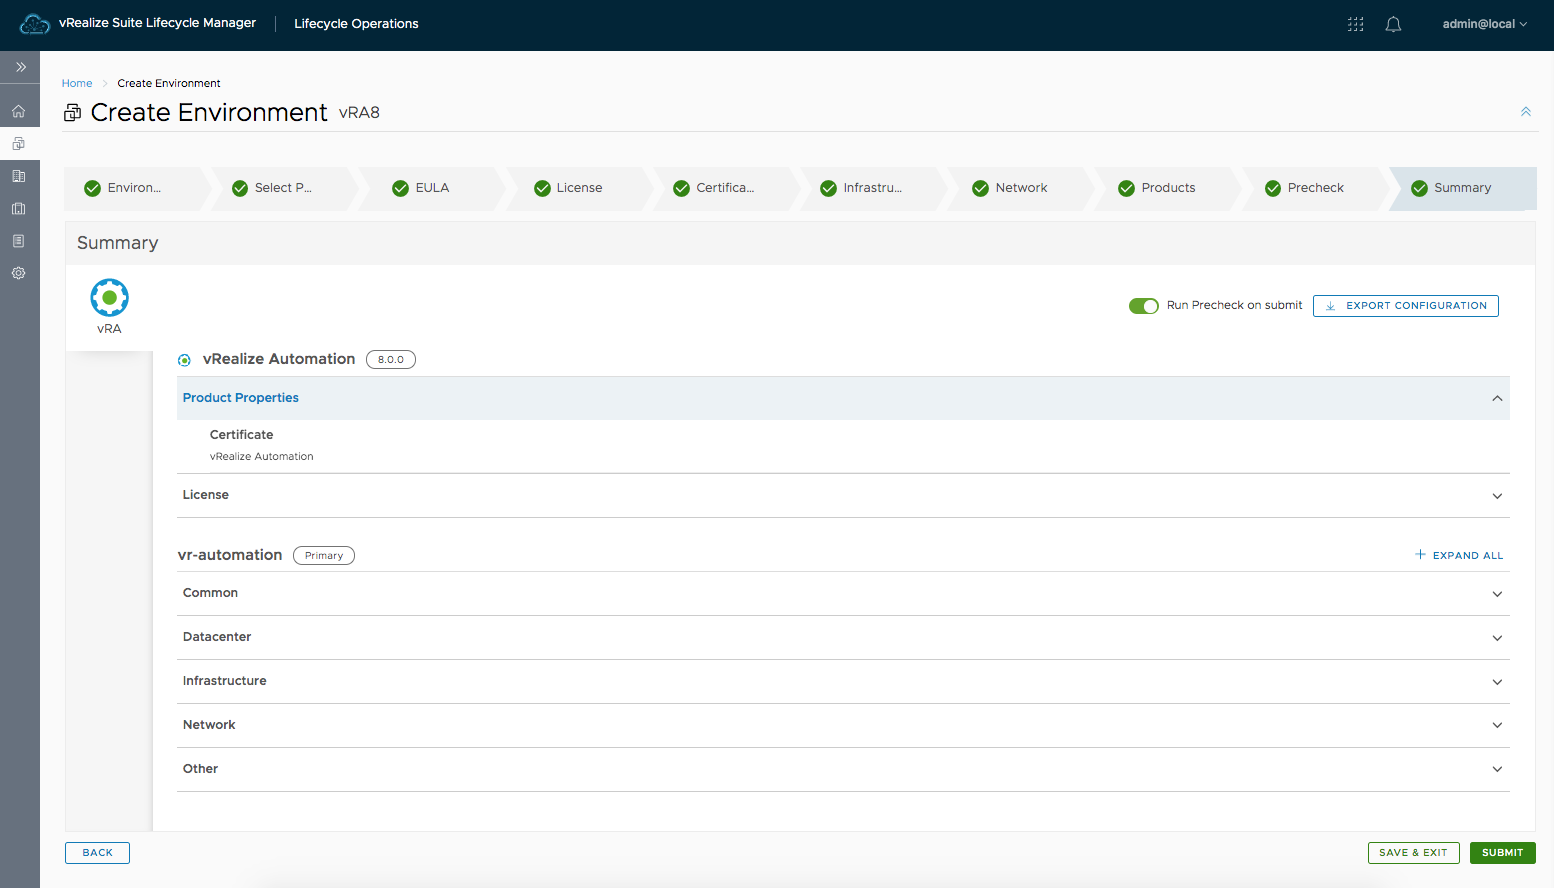
Let’s do the Precheck

Now, let’s conclude with the Summary. Once you have carefully reviewed the settings and everything is fine click on the Submit button.
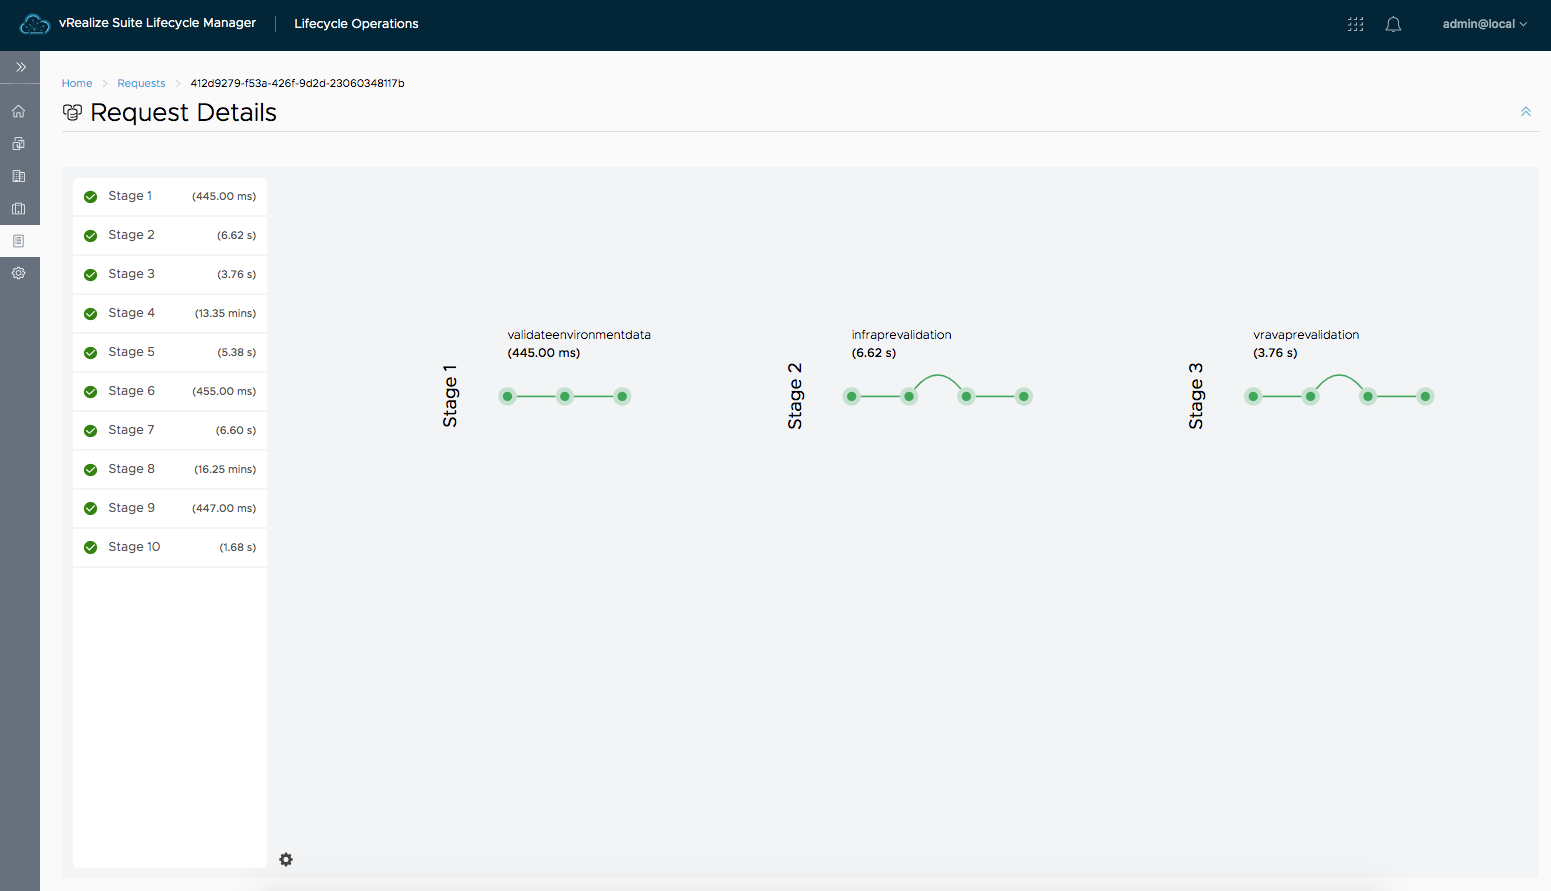
You can see the installation status. Please keep in mind, if any component fails, click on the appropriate task and re-try the task.
Finally, after ca. 30-45 minutes, the environment has been deployed.
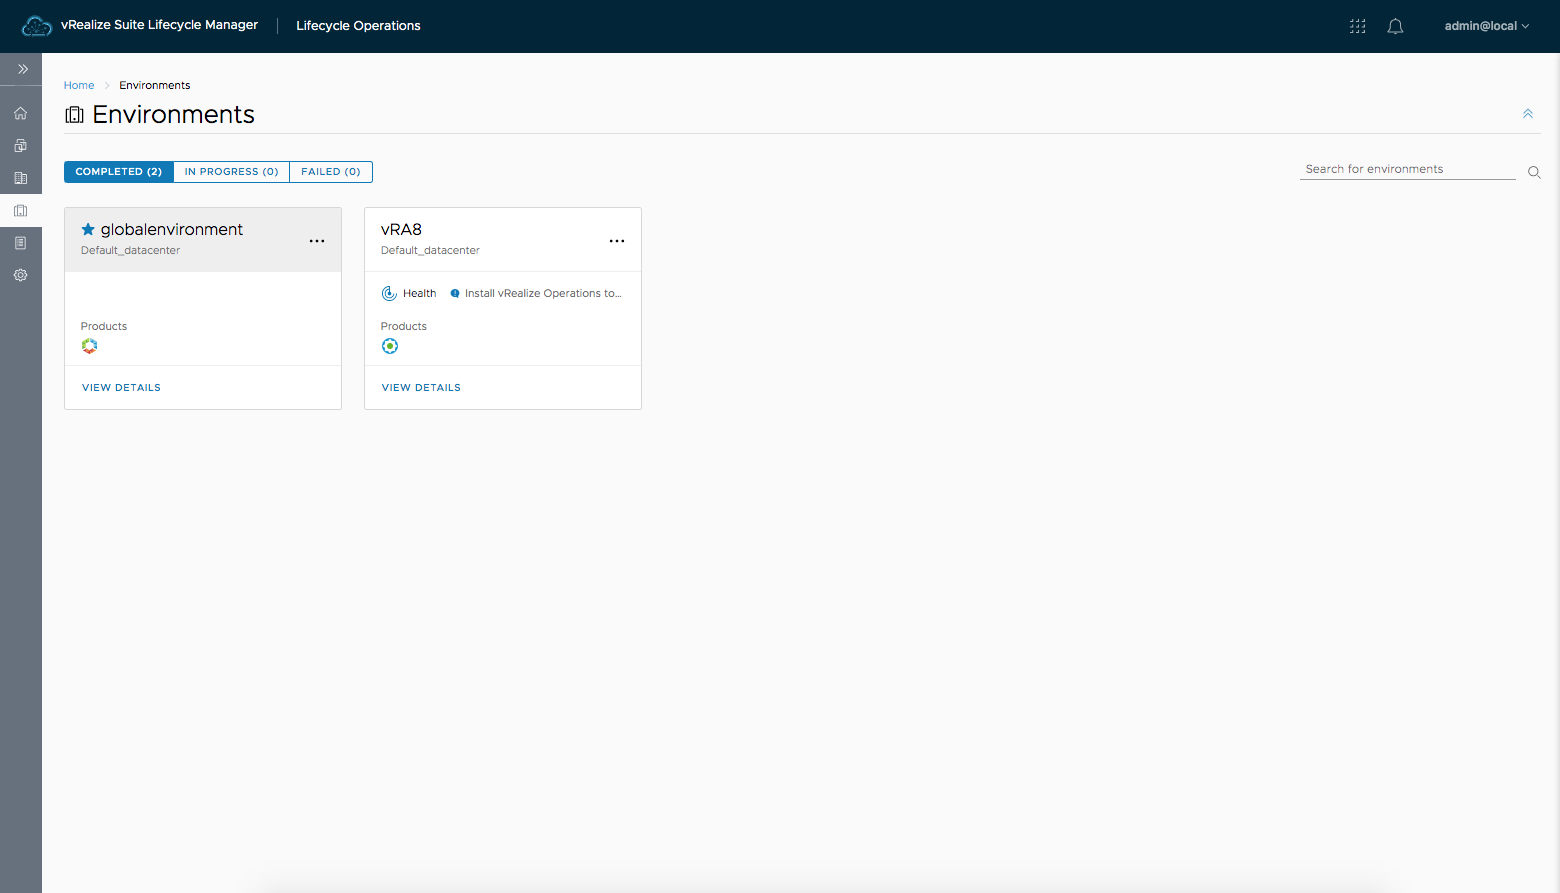
Now, you can log in into vRealize Automation. However, there is still not too much to do. We first have to setup Users and Directories. We will do this in the next part.
Recent Comments