
The process of deploying vRealize Automation has been totally revised with vRealize Automation 8. The biggest changes are:
- There are no Windows IaaS components anymore
- Installation is done via the VMware Lifecycle Manager
Basic architecture
Internaly, vRealize Automation consists of the following components:
- vRealize Suite Lifecycle Manager: This component provides a portal for administrators for installing, configuring, upgrading, patching, configuration management, drift remediation and health management from within a single pane of glass. Using the Lifecycle Manager reduces the installation time tremendously from days to hours.
- VMware vRealize Identity Manager: This component basically enables single-sign-on (SSO) to SAAS, web, cloud and native apps. With vRealize Automation 7, the Identity Manager has been part of the vRealize Automation appliance. Now it is a deployed as a dedicated component (like in the old days of vRealize Automation 6).
- vRealize Automation: The software itself.
Installation
We will show the a simple architecture consisting of three nodes as described.
Please make sure, to have DNS names (also reverse lookup) for those components created beforehands.
Like always, the installation process begins with downloading the necessary software from the VMware download sections.
vRealize Automation provides an installation tool – the Easy Installer. The Easy Installer will deploy the Lifecycle Manager first, upload the Identity Manager and vRealize Automation appliance OVAs to the Lifecycle Manager and finally deploys and configures the latter component.
After having downloaded the Easy Installer as an ISO-file, please mount it.

Mount Easy Installer ISO
In the following we will show the process for Windows, but the Easy Installer can also be triggered from MacOS or Linux.
Next to the GUI folder and start, the installer application. The installation wizard will load.
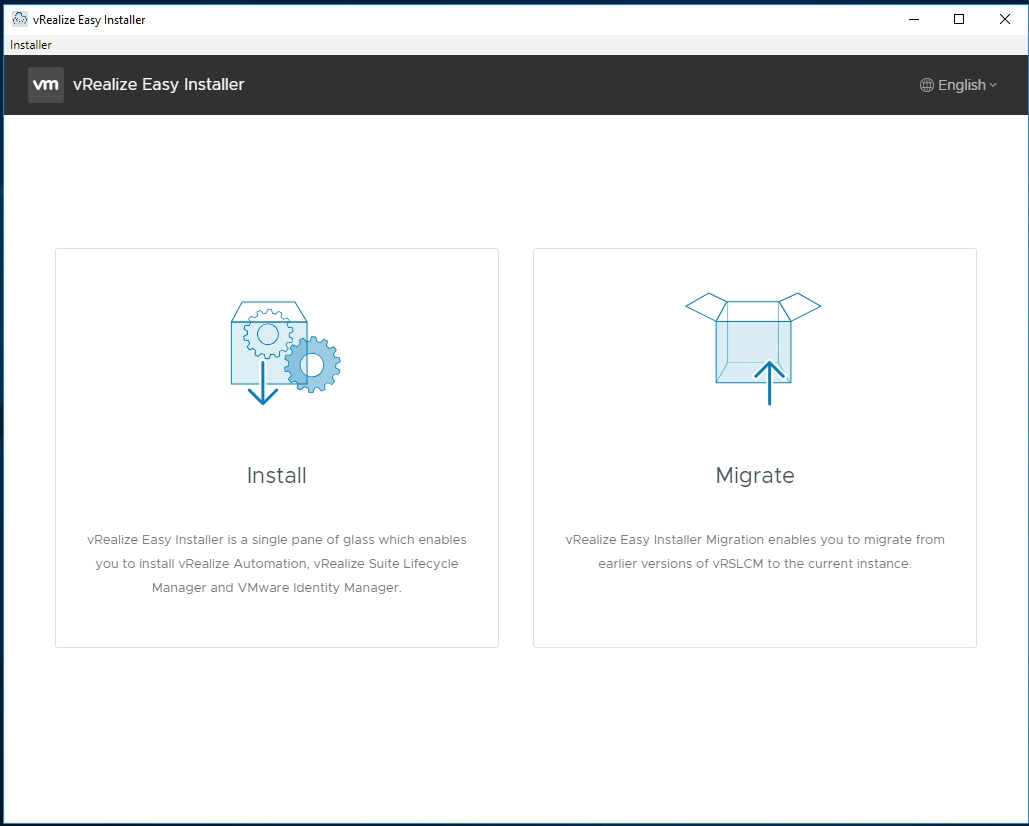
Click on Install

On the Introduction page, click on Next.
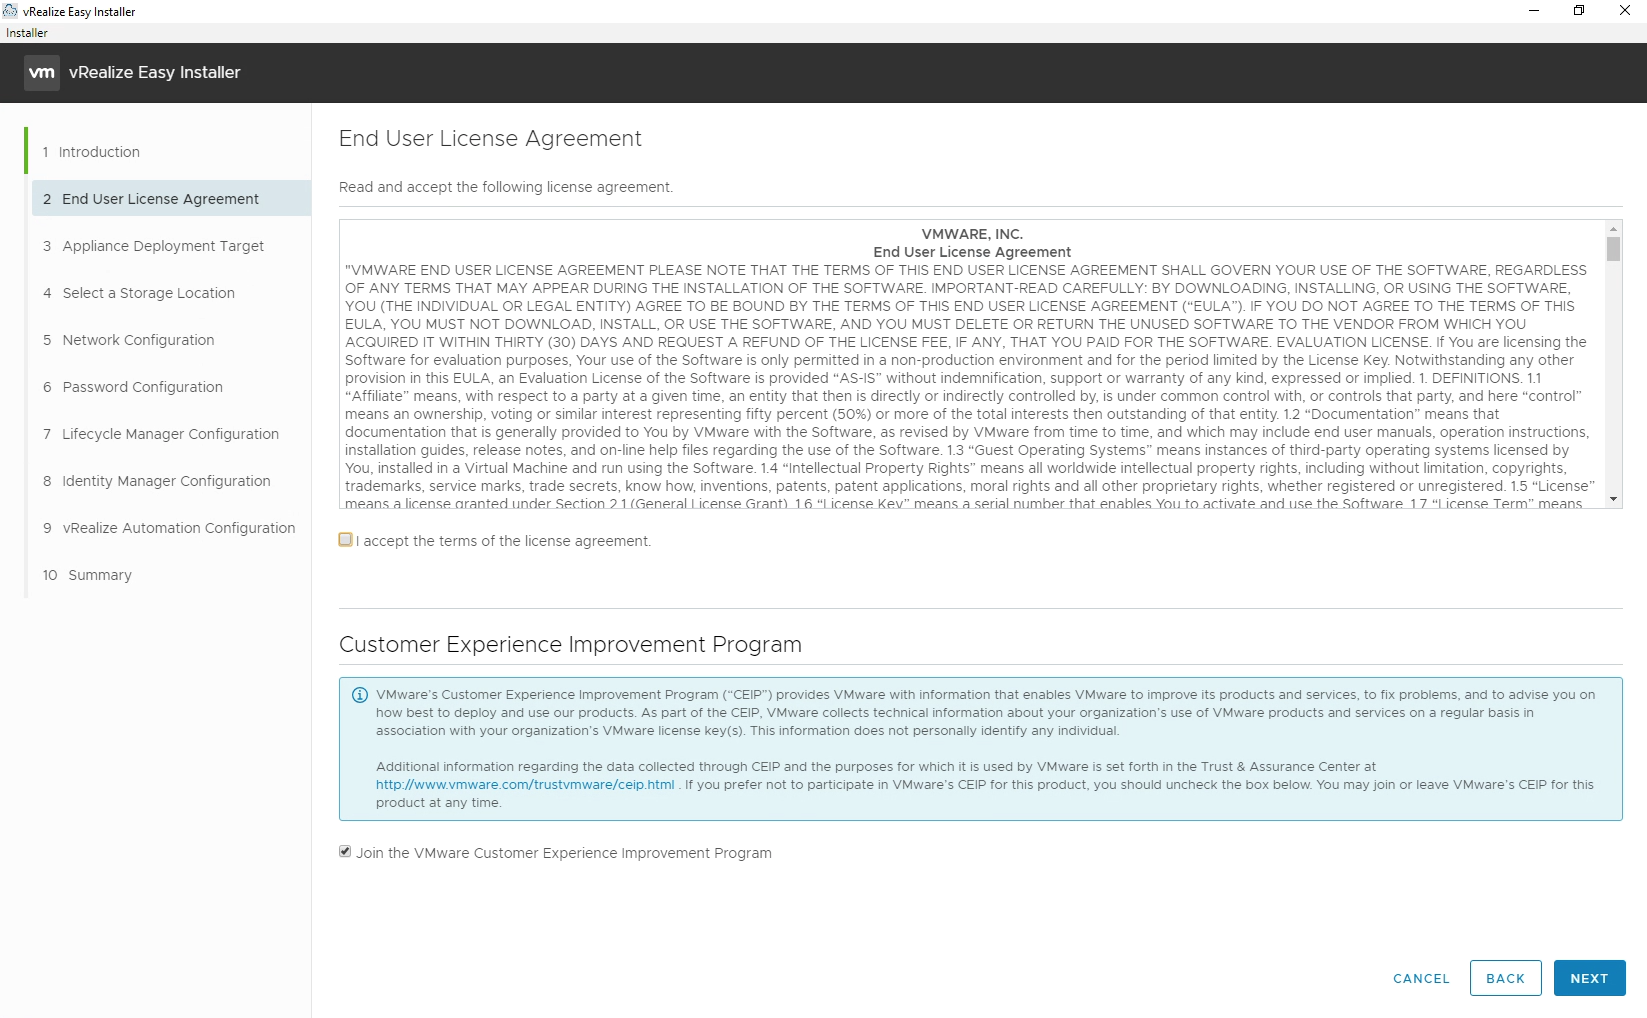
On the End User License Agreement page, accept the terms of the license agreement and click on Next.
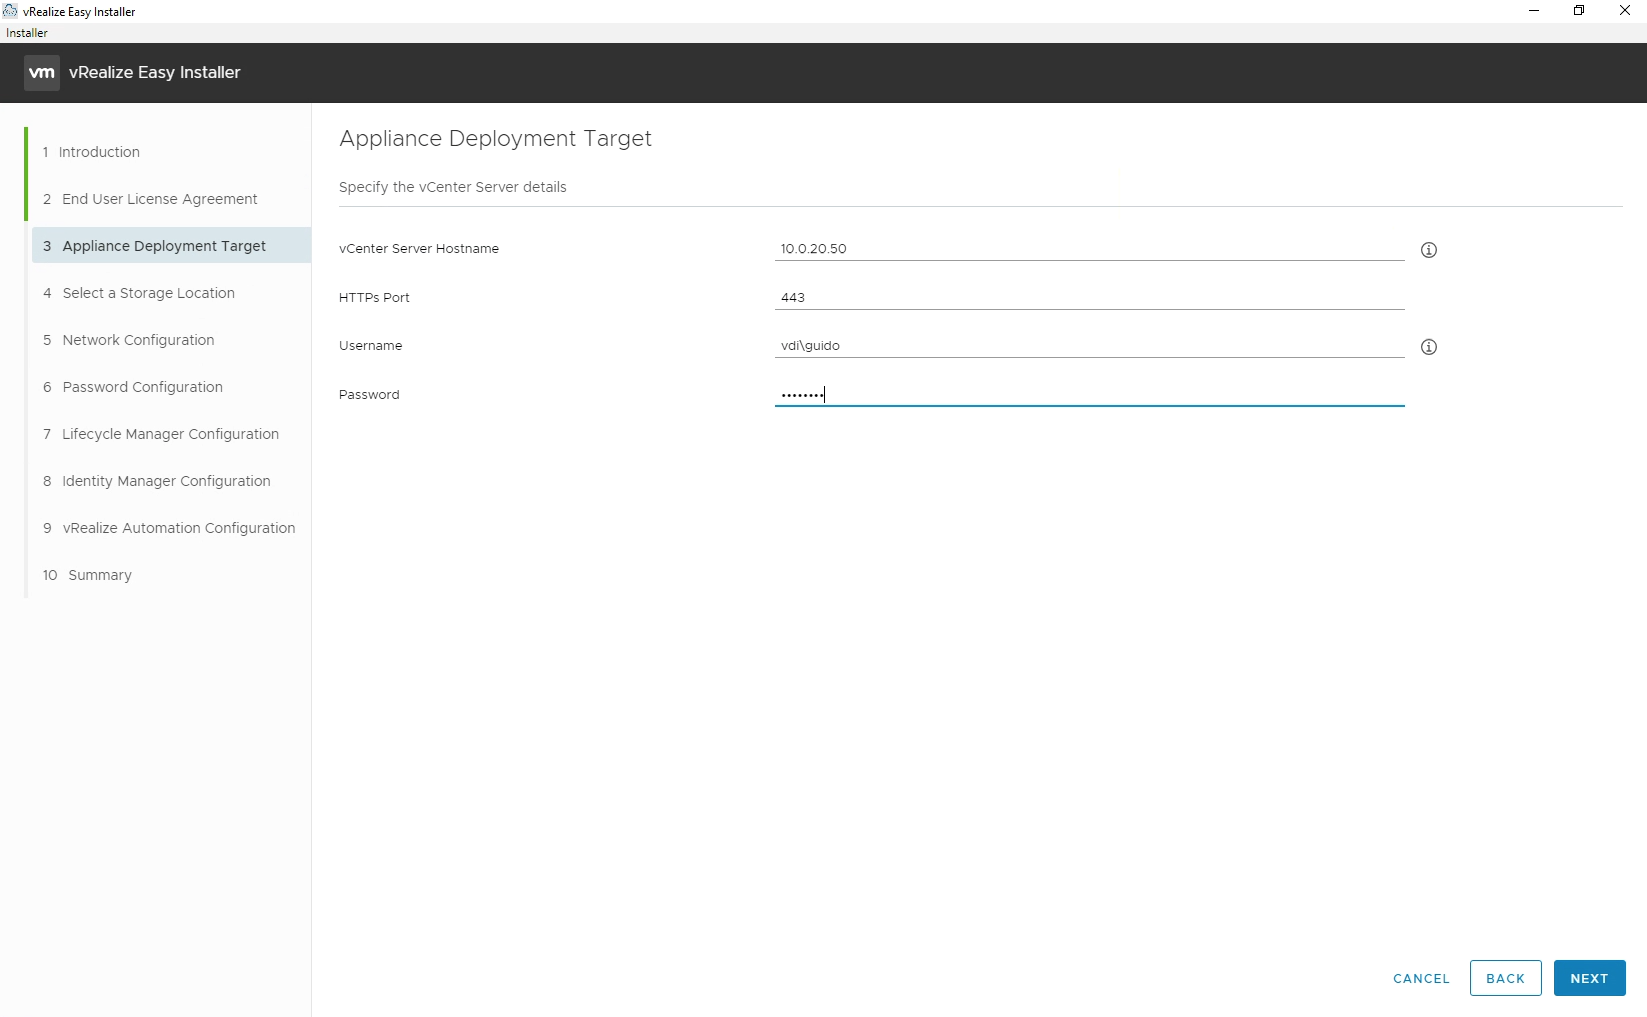
In the next step, we need to establish a connection to vSphere. Provide the following settings and click Next:
- vCenter Server Hostname (or IP)
- HTTPS Port
- Username
- Password
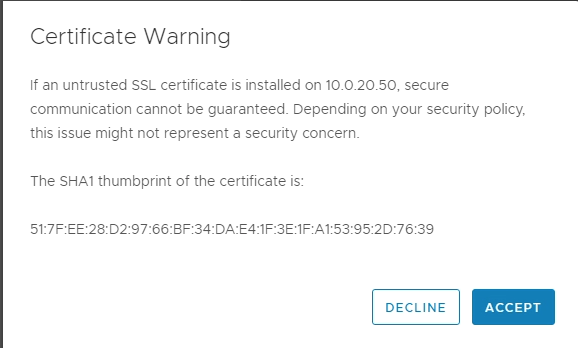
If you have an untrusted SSL certificate, click on Accept.
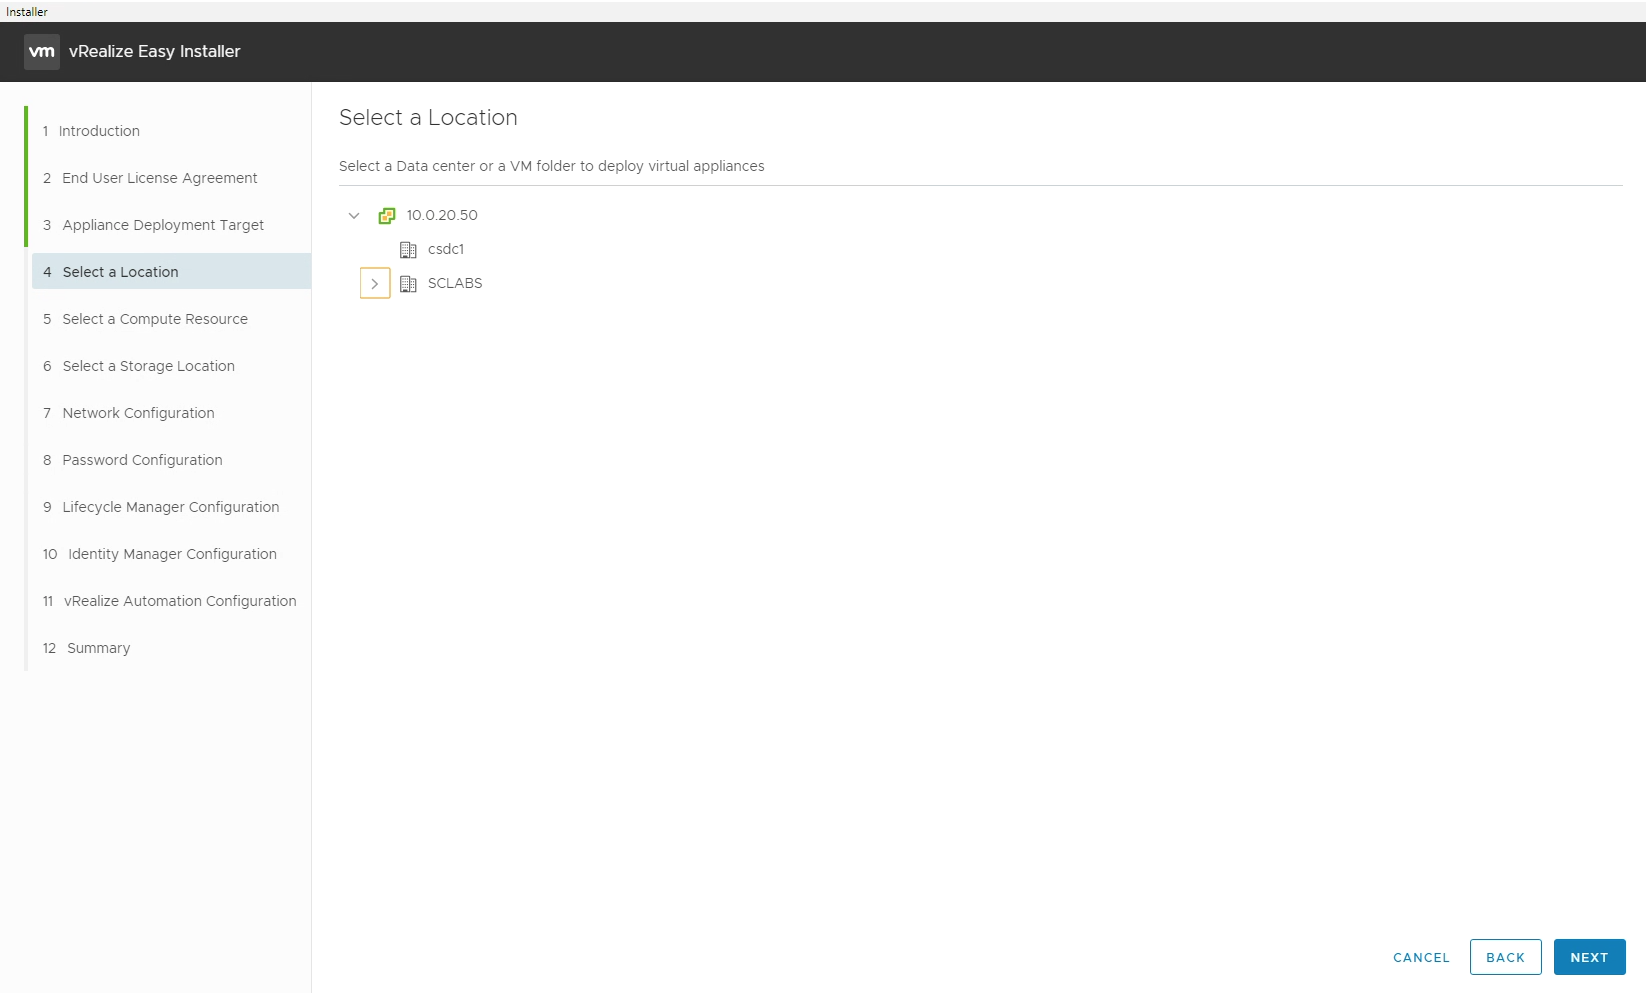
On the following page, choose a location (data center or VM folder) and click Next.
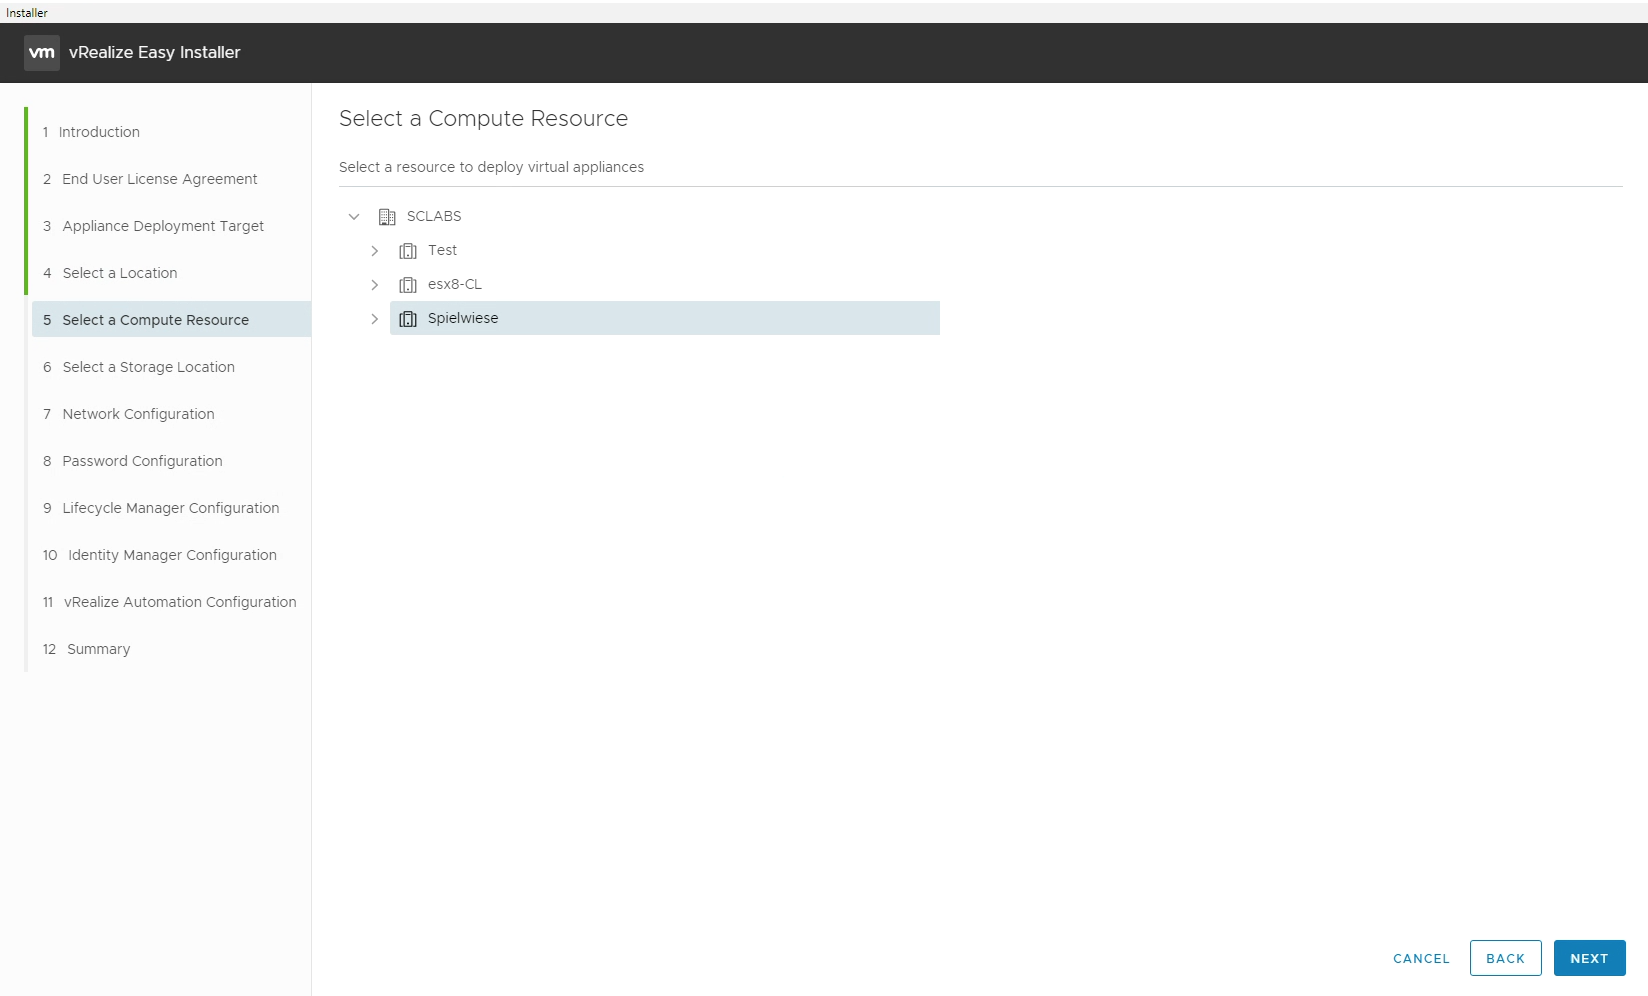
Now we have to select a Compute Resource.
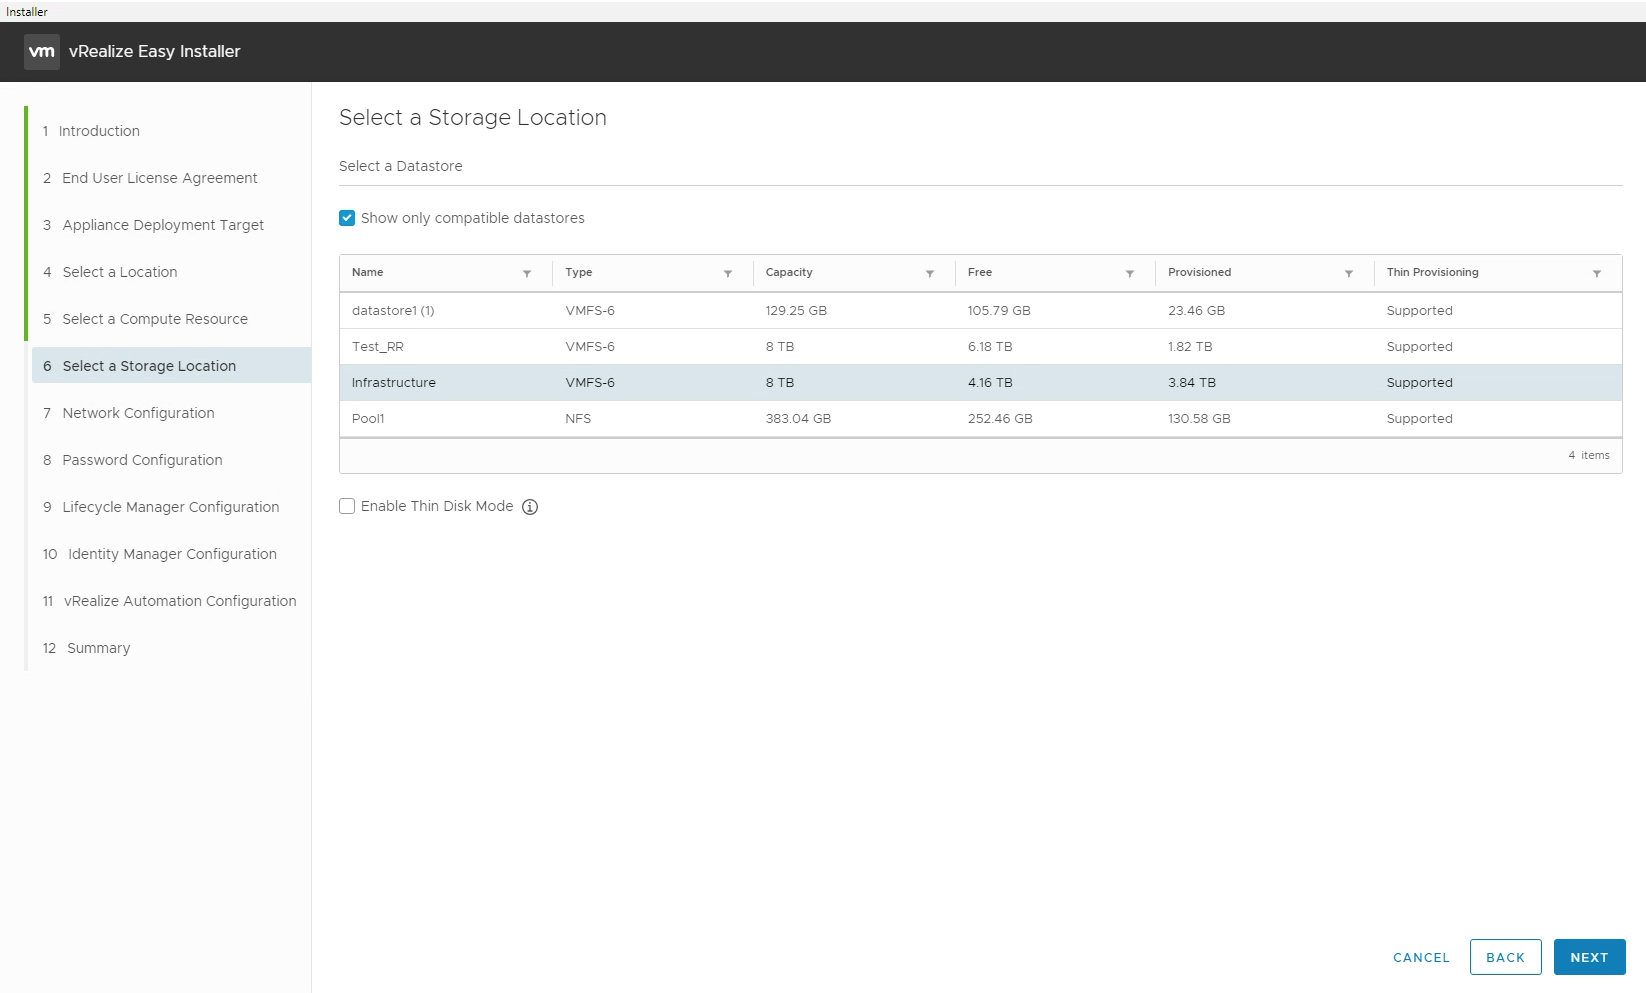
Of course, selecting a Storage Location is needed as well. Most likely you also want to enable Thin Disk Mode.
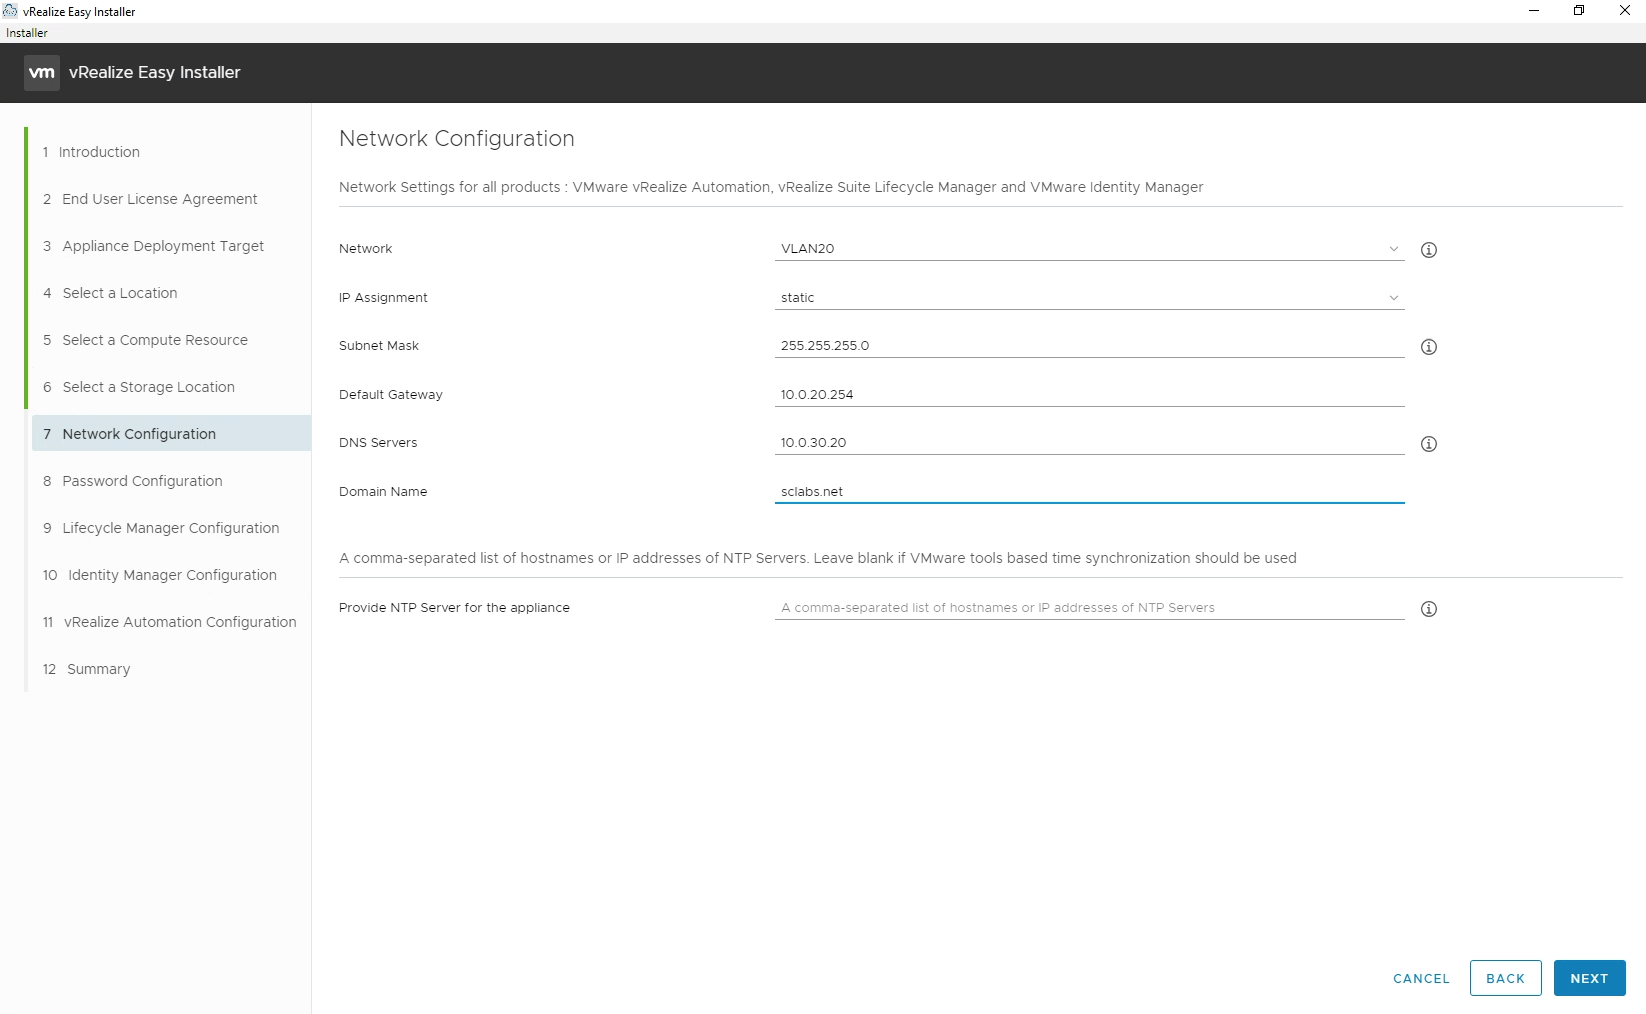
Next step is to provide the Network Configuration. Provide the following information and click on Next.
- Network
- IP Assignment
- Subnet Mask
- Default Gateway
- DNS Servers
- Domain Name
- NTP Server (optionally)
Now, provide a admin/root password for the vRealize Automation components:

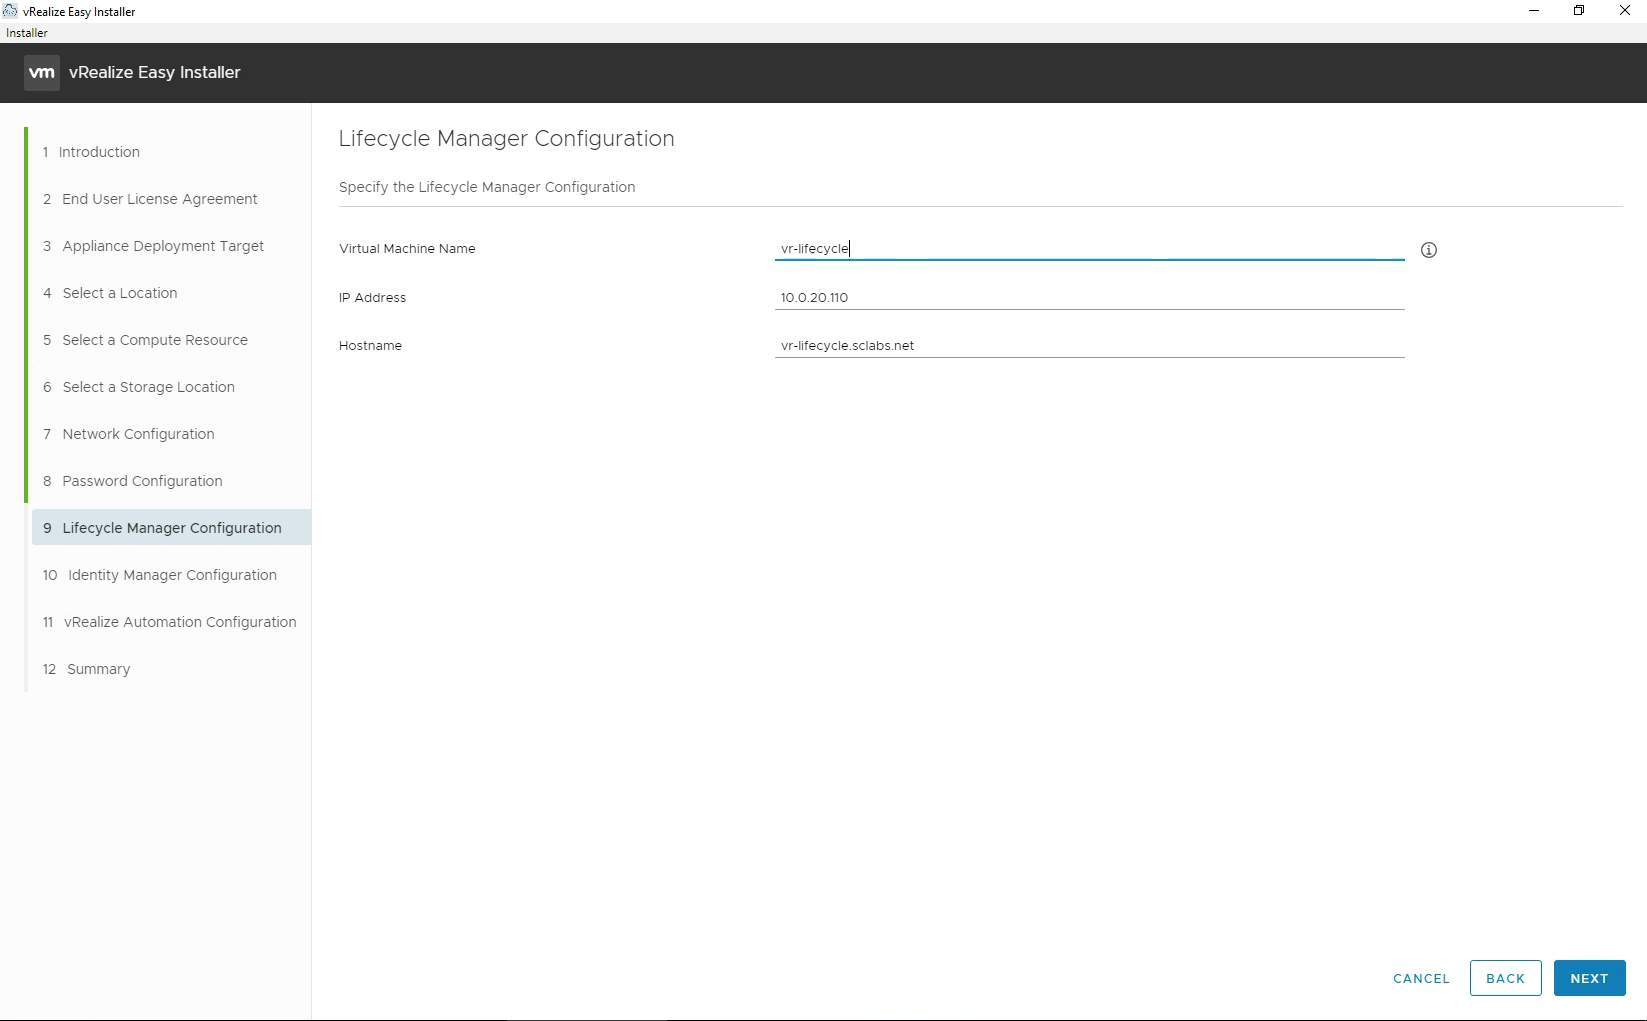
Next, continue with the Lifecycle Mananger Configuration. We need the following information:
- Virtual machine name
- IP address
- Hostname
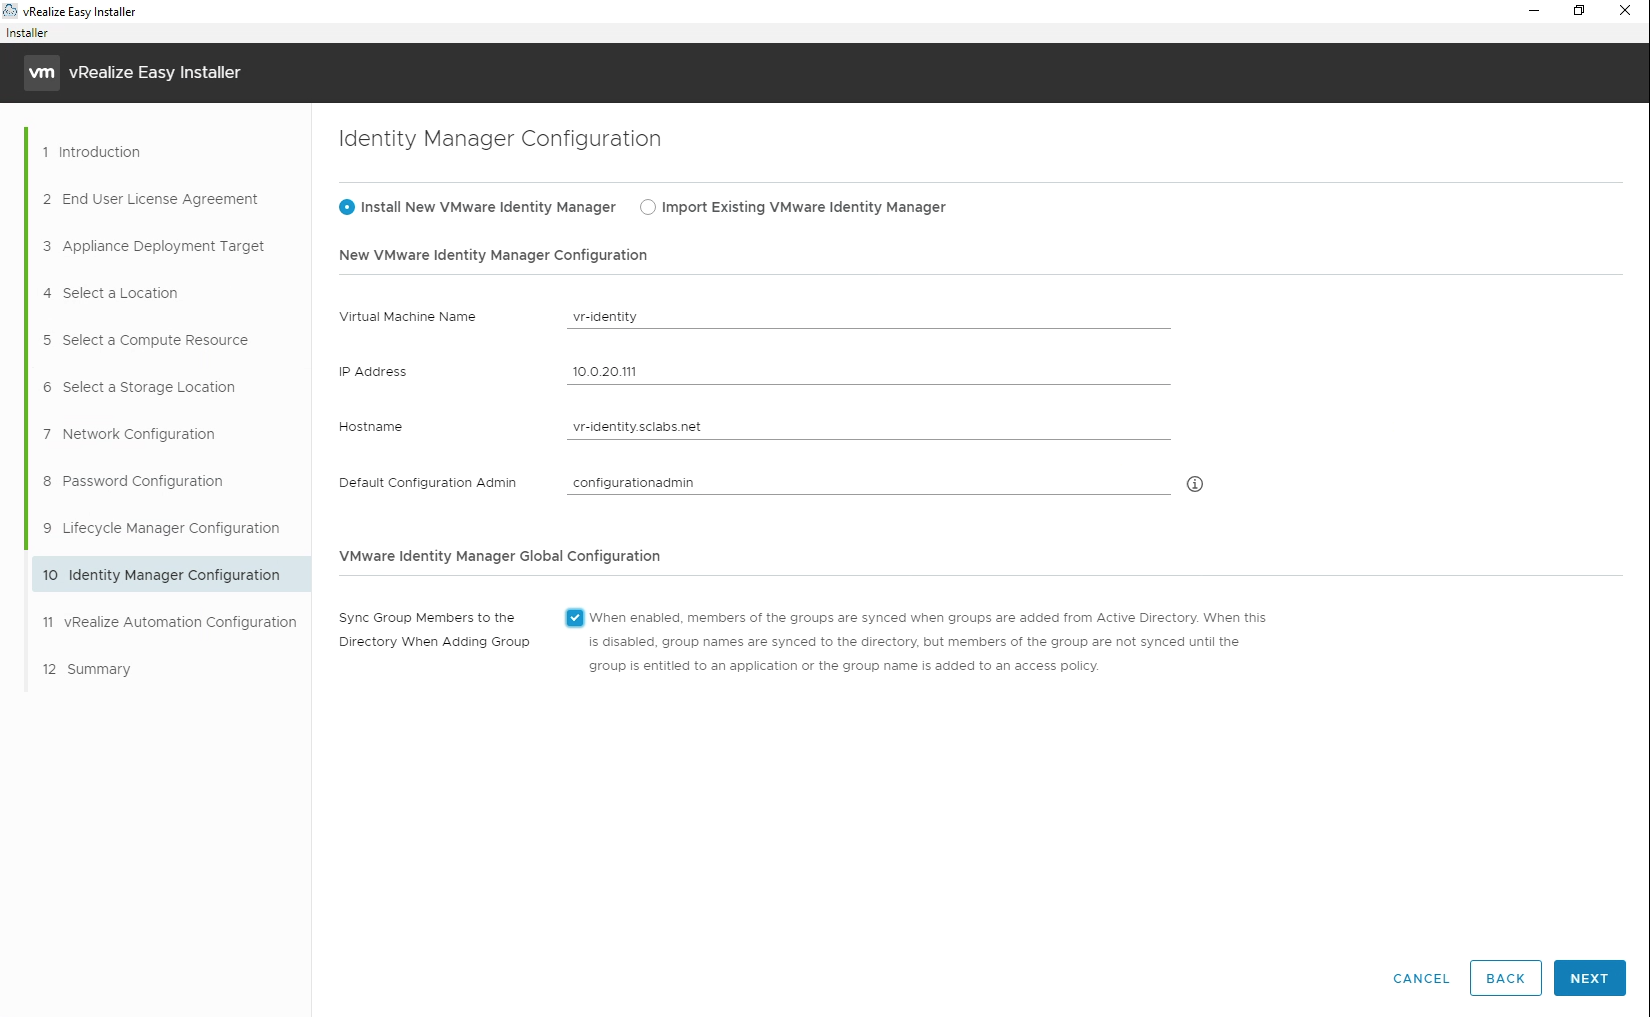
The next step is about configuring the Identity Appliance. Provide the following settings:
- Virtual Machine Name
- IP Address
- Hostname
- Default Configuration Admin
If you want not only groups from AD, but also members to be synced, active the „Sync Group Members to the Directory When Adding Group“ checkbox.
Click Next.
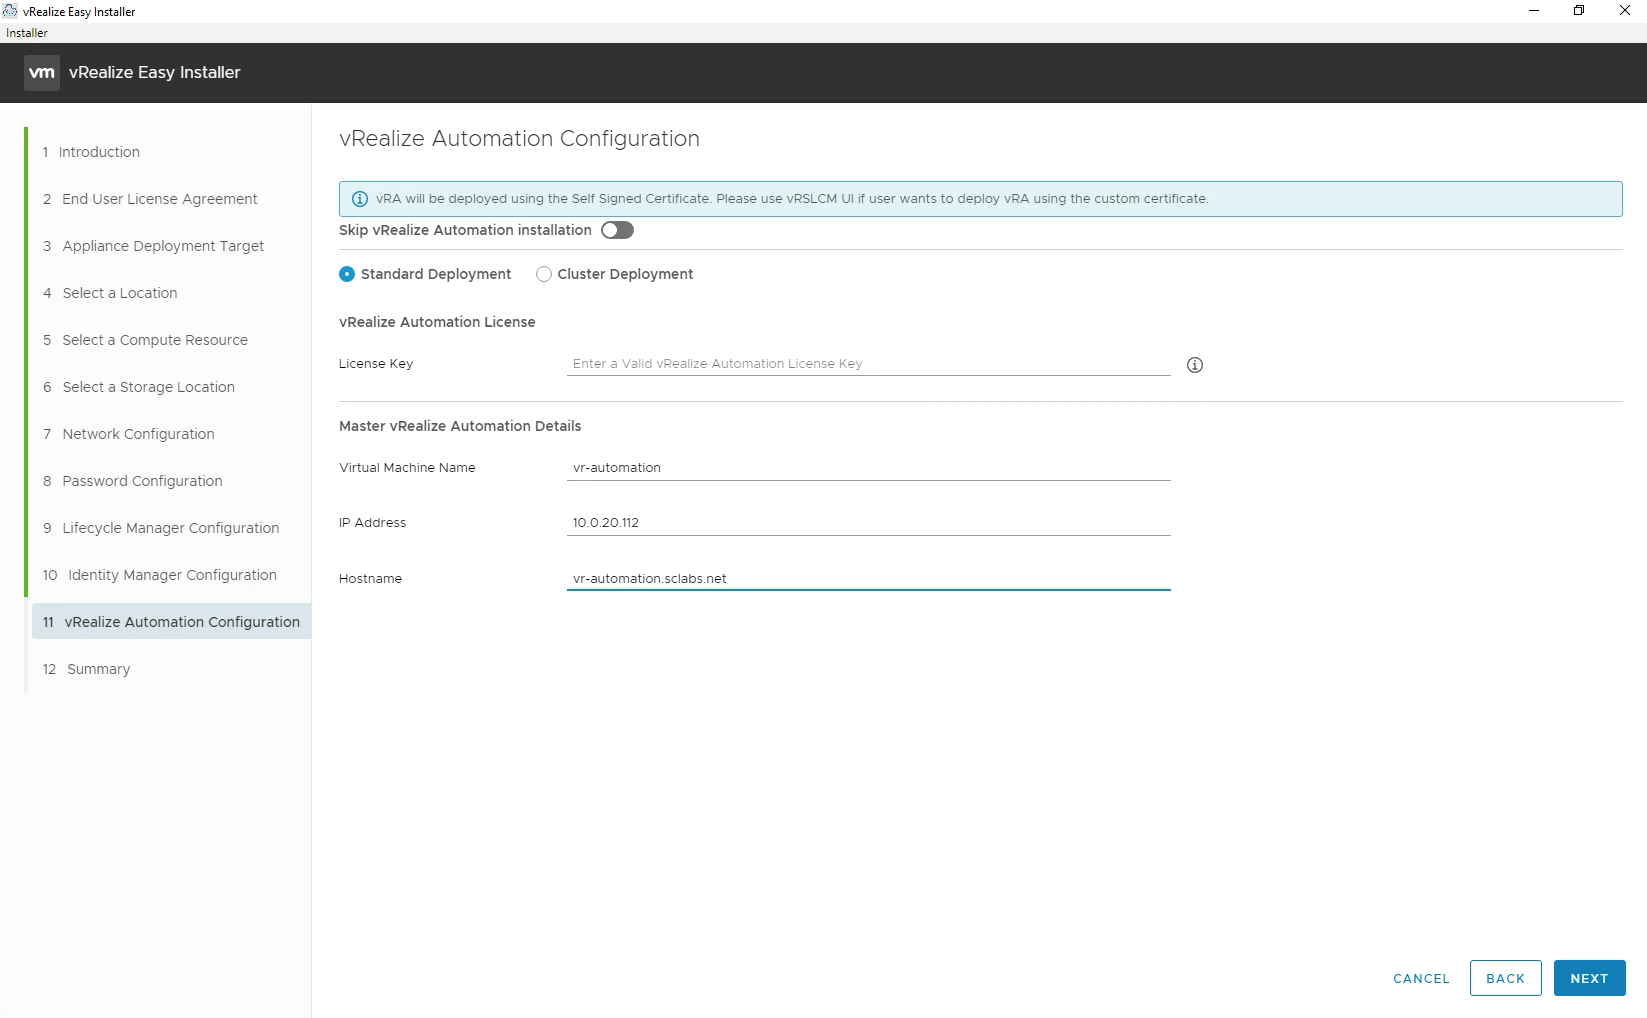
Now, we provide the necessary information for the Automation appliance:
- Provide the license key
- Virtual machine name
- IP Address
- Hostname
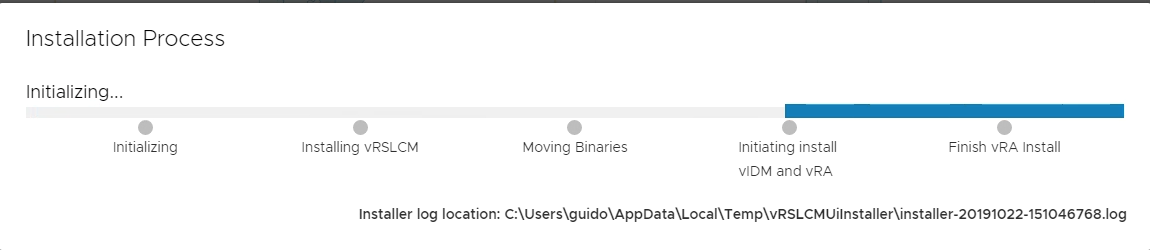
The last screen summarizes the settings. Please review everything and let the installation start.
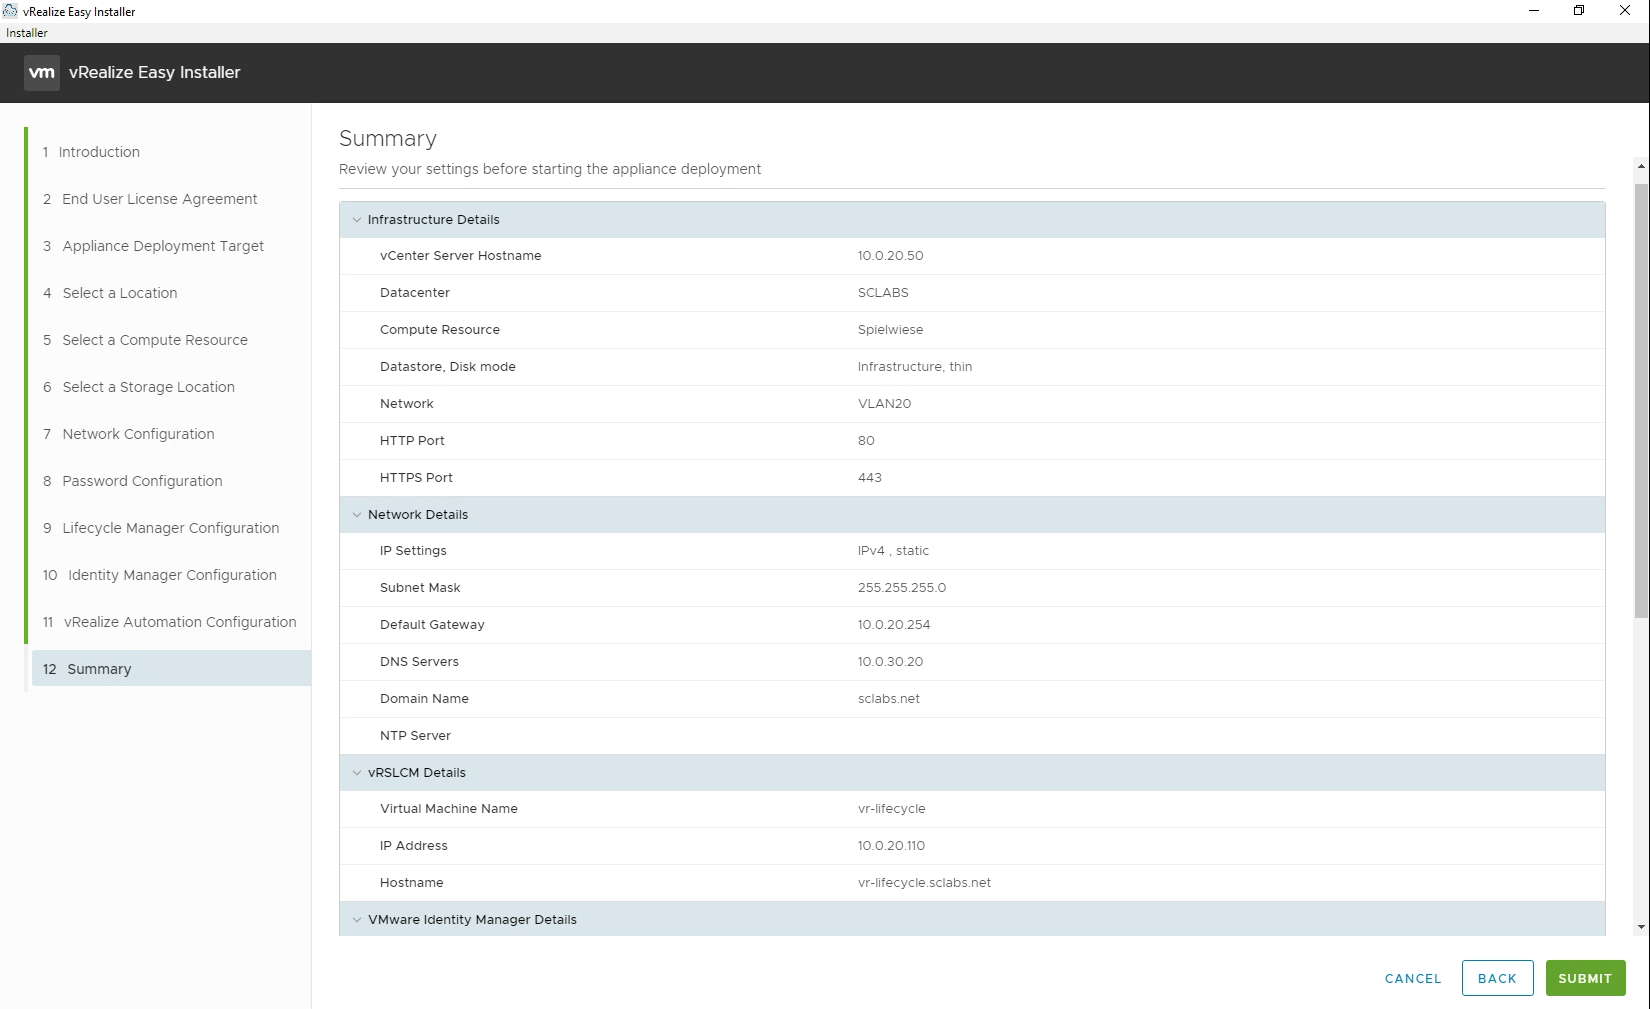
The first part of the installation will take 1-2 hours.
Recent Comments